


tote bag design mistakes is the first checkpoint buyers should lock before they approve a supplier, budget, or production slot. Most retail brands don’t realize they’ve made a tote bag design mistake until a customer complaint lands. A pixelated logo on a 200-unit run. A handle that tears clean off under a 15-pound grocery load. These failures don’t just trigger returns—they erode the unboxing experience that drives reorder rates. And 74% of consumers say product quality is the most important factor in brand loyalty. That number stings when you realize over 40% of first-time custom tote orders ship with a pixelated logo simply because the artwork file was a JPG, not a vector.
The fixes are not complicated. They’re just invisible to someone sourcing for the first time. A pre-production prototype adds five working days but cuts color mismatch returns by over 80%. Specifying a bar-tack stitch pattern on the handle attachment point lifts carry capacity from 15 pounds to over 50. These details live on factory spec sheets, not on Pinterest mood boards. Five specific design errors keep showing up across production runs—and each one has a direct, factory-backed correction that protects the brand perception you’ve spent years building.
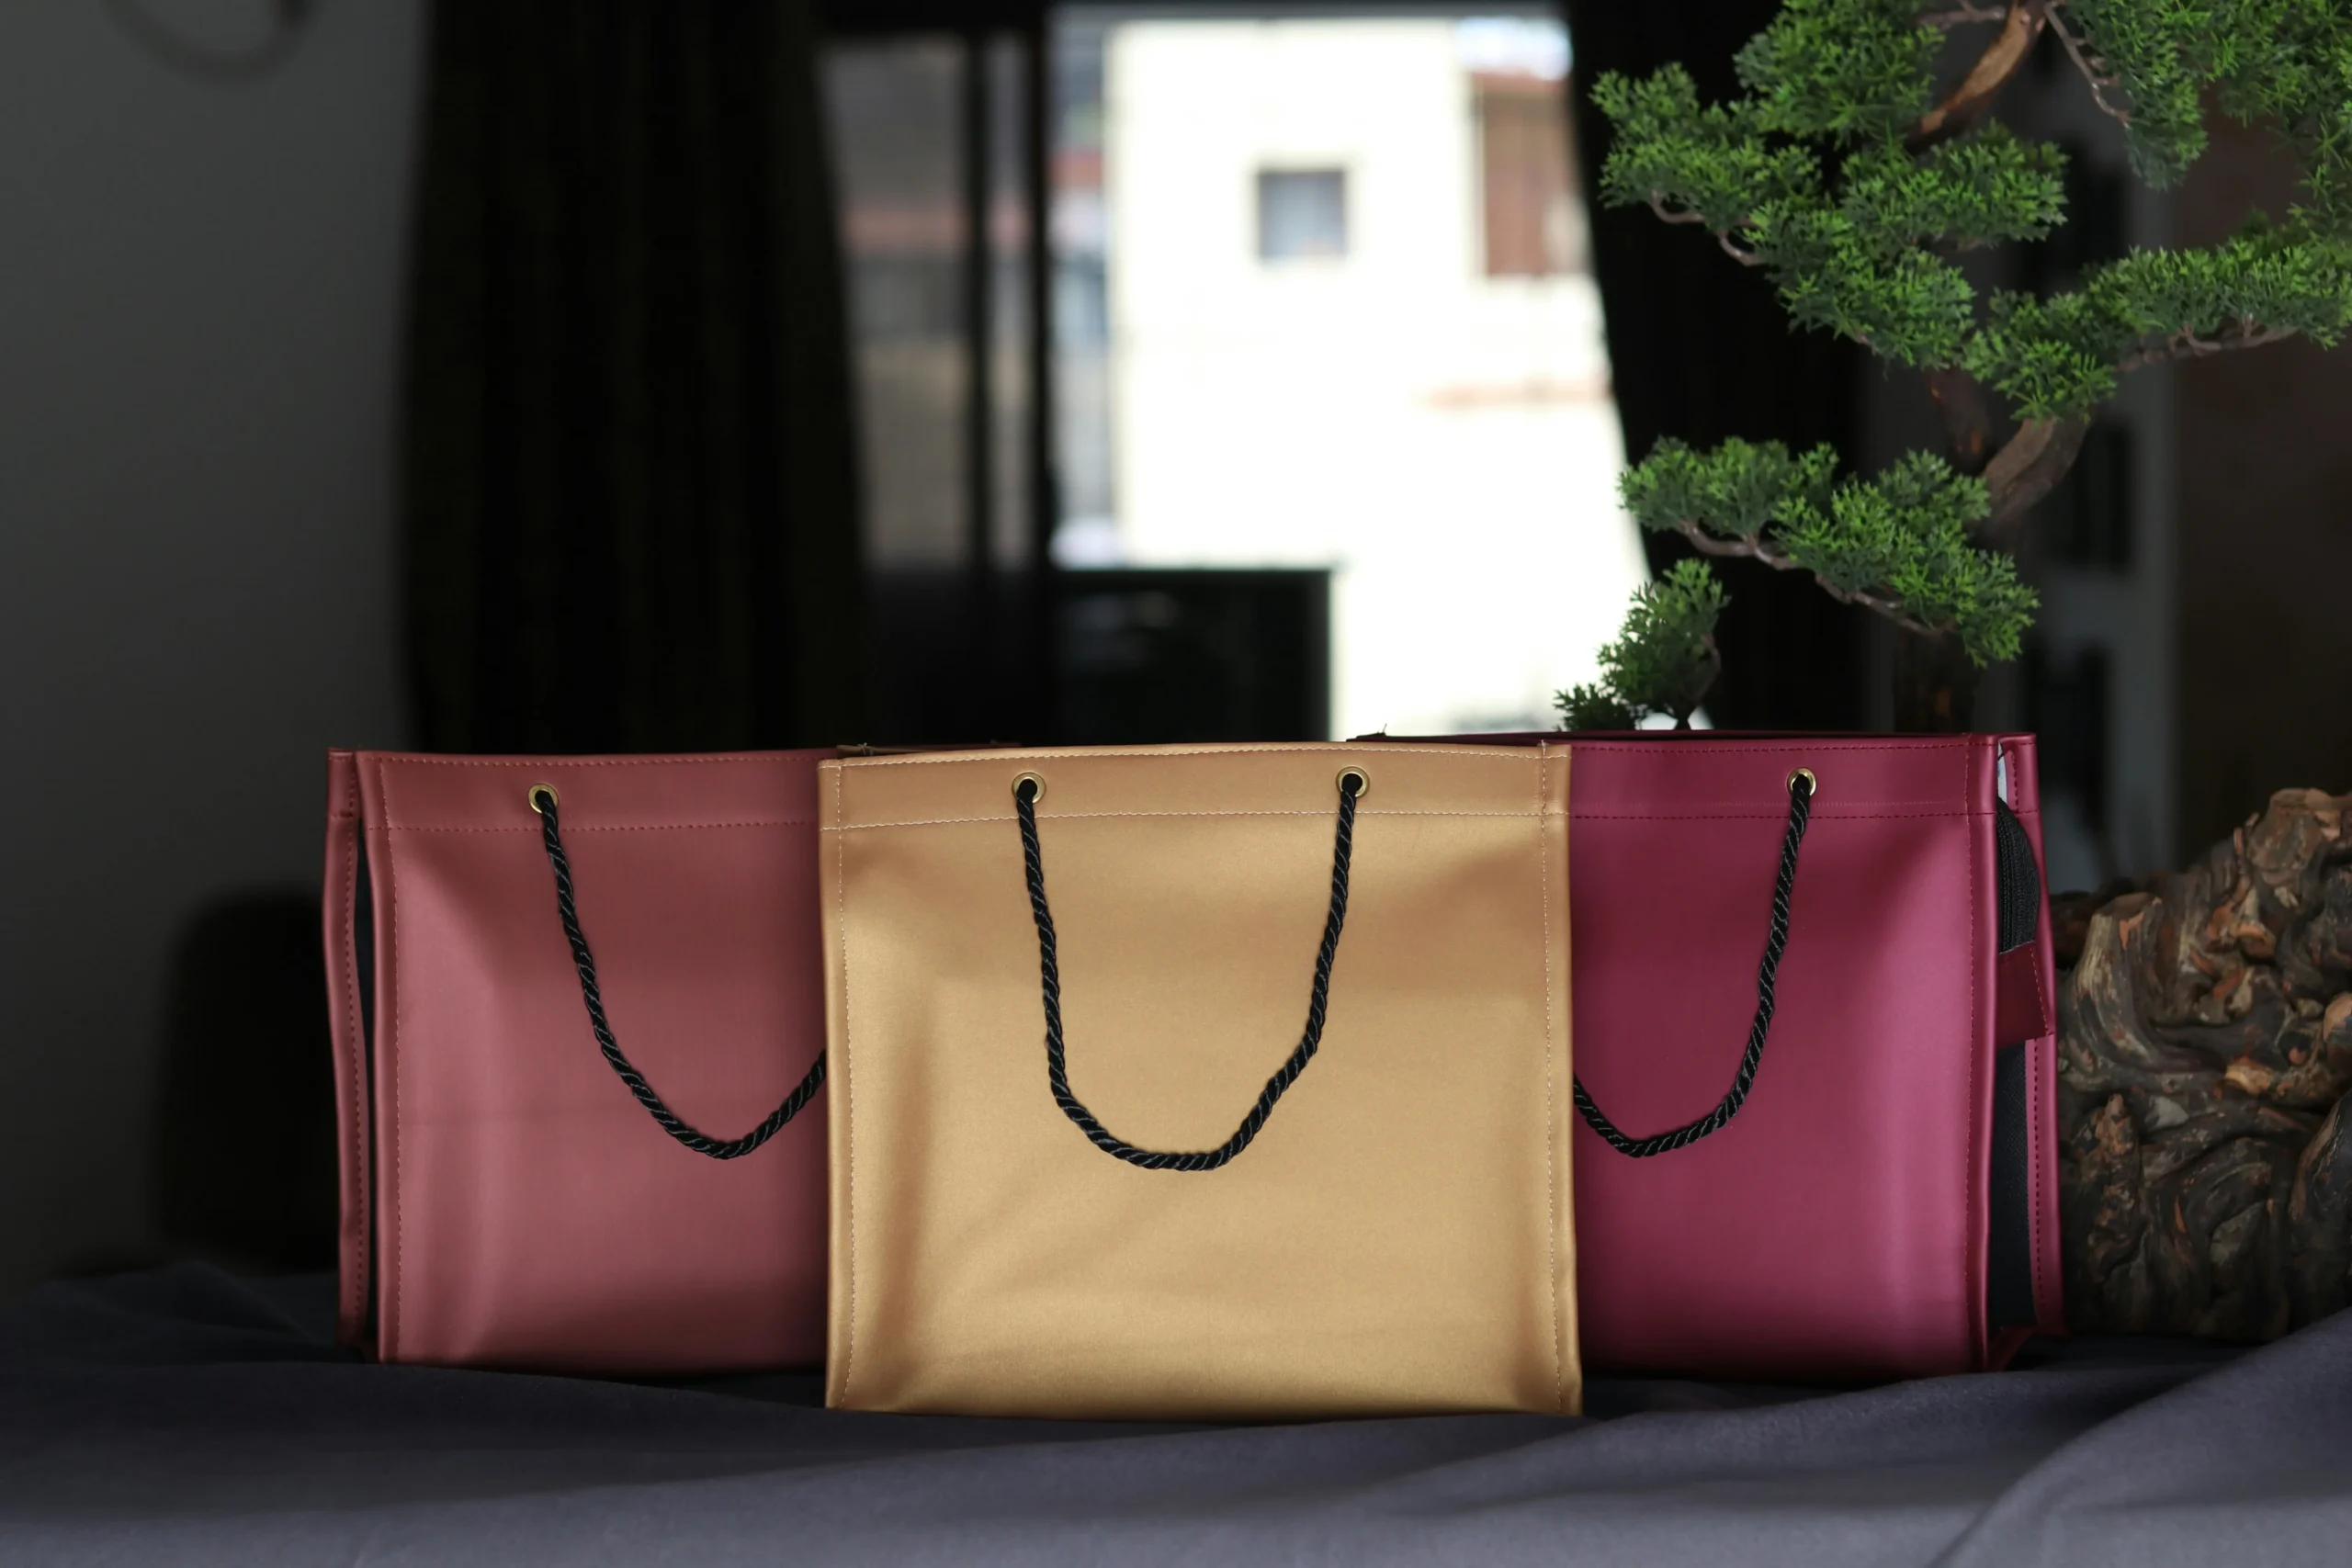
Mistake 1: Prioritizing Looks Over Material Performance
Soft-hand fabric often masks low GSM and loose weave — the fastest path to customer returns.
Retail buyers gravitate toward bags that feel plush on the shelf. The problem is that a velvety hand-feel in a swatch book almost always comes from short-staple fibers, a relaxed weave, or chemical softeners that wash out after two trips through a customer’s laundry cycle. What felt premium at the photo shoot turns into a pilled, fuzzy mess by week three. For a brand merchandiser, that’s not just a quality complaint — it’s a loyalty killer. 74% of consumers cite product quality as the top driver of brand loyalty, and a bag that degrades visibly erases the trust your packaging was supposed to build.
- GSM alone is a trap: A 200 gsm polypropylene bag can still tear under 15 lbs if the weave is loose, while a 200 gsm cotton canvas with tight Oxford weave handles 30+ lbs without deformation. GSM tells you weight per square meter; it says nothing about how those fibers are locked together.
- Weave density determines pill resistance: Abrasion from keys, wallets, and car trunks acts like sandpaper on exposed fiber ends. Fabrics with <150 threads per inch generate pills within 10–15 use cycles. Specifying a minimum 210-thread-count canvas or a high-tenacity polyester ripstop pushes that failure point out beyond 100 cycles in internal wear testing.
- Abrasion resistance is the metric nobody asks for: Martindale test results above 20,000 rubs separate retail-grade from promo-grade. Most off-the-shelf template bags never quote this number. If your supplier cannot produce a Martindale score, assume the bag is built for one-time event use, not daily retail carry.
The factory fix is straightforward but rarely requested: specify material by fiber composition, weave count, and Martindale threshold — not by touch. An internal QC protocol that cross-checks incoming greige fabric against a 210-thread-count minimum and rejects lots below 20,000 rubs eliminates the soft-hand trap before a single bag is cut. This adds zero per-unit cost when ordered at the spec stage. Waiting until customers send back pilled returns costs a brand far more than the conversation upfront.
| Design Mistake | Performance Failure | Hard Data | Factory Fix |
|---|---|---|---|
| Choosing soft-hand fabric based on look/feel alone | Pilling and fraying after 3 uses; fabric loses structure under load | 74% of consumers cite product quality as top loyalty driver; 120 gsm polypropylene tears under 15 lbs | Spec 200+ gsm cotton canvas with high weave density and ASTM D3884 abrasion resistance |
| Using 120 gsm polypropylene for retail tote bags | Seam failure and tearing at grocery-level loads, high return rates | 200 gsm cotton canvas handles 30+ lbs; 120 gsm fails below 15 lbs | Upgrade to 200–250 gsm canvas or recycled RPET with reinforced side seams |
| Ignoring inner lining material | Lint shedding damages dark apparel or electronics, tarnishing unboxing experience | Lint-attracting linings are a top complaint in high-end retail returns | Specify low-lint certified lining (e.g., lightweight polyester or cotton sheeting) |
| Skipping GSM and weave density specification | Bag collapses under weight; inconsistent feel across batches | A 108×56 weave on 200 gsm canvas doubles tear-out resistance versus 80×40 open weave | Request GSM cert and weave density report; insist on pre-production hand-feel sample |
Mistake 2: Skipping Pre-Production Prototypes
Digital proofs show what you hope to get.
A screen-rendered logo on a calibrated monitor bears zero resemblance to ink sitting on 200gsm cotton canvas. The surface absorbs differently than your display emits light. Fabric weave interrupts fine lines. The navy blue you approved at 3pm on a backlit display arrives as a washed-out indigo that reads cheap the moment a customer pulls it out of the bag. Digital mockups are a useful starting point. They are not a contract.
- Color drift on absorbent stock: Natural cotton and recycled RPET pull ink into the fiber differently than coated paper. A PMS 286 blue on a screen-print drawdown against the actual fabric can shift two shades darker or lighter than the digital proof. Only a physical sample run against the real substrate confirms what the eye will see at retail.
- Registration creep on textured surfaces: Multi-color designs require exact plate alignment. A 1mm registration error looks invisible in a PDF. On a bag with a canvas slub or non-woven texture, that same 1mm becomes a visible ghost outline around every letter. Physical samples expose this before 5,000 units inherit the defect.
- Pixelation from raster artwork: Over 40% of first-time custom tote orders arrive with a pixelated logo because the brand supplied artwork as a JPG instead of a vector file. A JPG enlarged to print size reveals jagged edges and compression artifacts that were invisible at thumbnail scale. Factory prepress teams catch this immediately—but only if a pre-production check is requested.
- Ink opacity failure on dark fabric: White ink on black 200gsm canvas requires an under-base flash to achieve opacity. Skip the physical sample and you risk a grey, translucent logo that disappears under store lighting. A drawdown on the actual fabric tells you in 30 seconds whether the ink deposit is sufficient.
- PMS drawdown on actual substrate: Confirm every color in your design against a physical swatch printed on the exact fabric and coating specified in the order. Accept nothing less. Digital color libraries are approximations. Fabric is reality.
- Registration check under production tension: Bags stretch slightly when pulled through automatic screen-print carousels. A registration that aligns on a flat mockup can shift when the fabric is under tension. The prototype run replicates production conditions, not ideal lab conditions.
- Vector file confirmation: Ensure your artwork has been received and verified as a vector file (.AI, .EPS, .SVG, or .PDF with embedded vectors). If prepress flags a raster file, fix it before the run starts. This single check eliminates the single largest source of print-quality returns.
- Handle and seam placement verification: Once print registration is confirmed, verify that handle attachment points and seam allowances do not intersect or crowd the printed area. A logo printed too close to a bartack becomes illegible. The prototype lets you adjust placement before cutting dies are locked.
The financial arithmetic is not subtle. A pre-production physical sample adds 5 working days to your timeline. Skipping it and approving from a PDF adds a 2-to-3-week reprint delay when something goes wrong—and something goes wrong more often than most first-time buyers believe. The sample itself might cost a few dollars in consumables. A reprint costs the entire production run plus expedited freight to salvage a launch deadline. There is no scenario where gambling on the digital proof is the cheaper path.
Factory color matching to PMS targets is confirmed against a physical drawdown, not a digital mockup. A drawdown is a small ink swatch printed on the actual production substrate under production conditions. It reveals whether the ink sits up or sinks in, whether the sheen matches expectation, and whether the color holds under retail lighting. Request one. If your supplier pushes back and insists the PDF is enough, treat that as a red flag.
| Aspect | Root Cause | Consequence Without Prototype | Factory Prototype Fix | Quantified Result |
|---|---|---|---|---|
| Color & Registration Mismatch | Digital screens misrepresent how ink interacts with fabric; no physical drawdown to confirm PMS match. | Brand‑diluting color shifts, unregistered prints, and a return rate that erodes loyalty. | Request a screen‑print sample on actual material; factory matches against PMS‑certified physical drawdown. | Reduces color‑mismatch returns by over 80% with only 5 extra working days. |
| Pixelated or Blurry Logo Artwork | Over 40% of first‑time orders use JPG instead of vector files; low‑res errors invisible until mass production. | Entire print run arrives with a pixelated logo, forcing discard or costly reprint. | Pre‑press technicians inspect artwork during prototype stage; vectors are corrected or re‑requested before bulk. | Eliminates artwork‑related defects before bulk, saving 2–3 weeks of reprint delay. |
| Timeline & Supply‑Chain Disruption | Skipping prototype means no physical check; defects surface only after full run is completed. | Minimum 2–3‑week reprint cycle, missed launch dates, and rush‑fee penalties. | A 3–5‑day prototype turnaround with courier‑review stage catches flaws early. | On‑time delivery rate rises, and rush charges are avoided—prototype cost is roughly $2 per sample. |
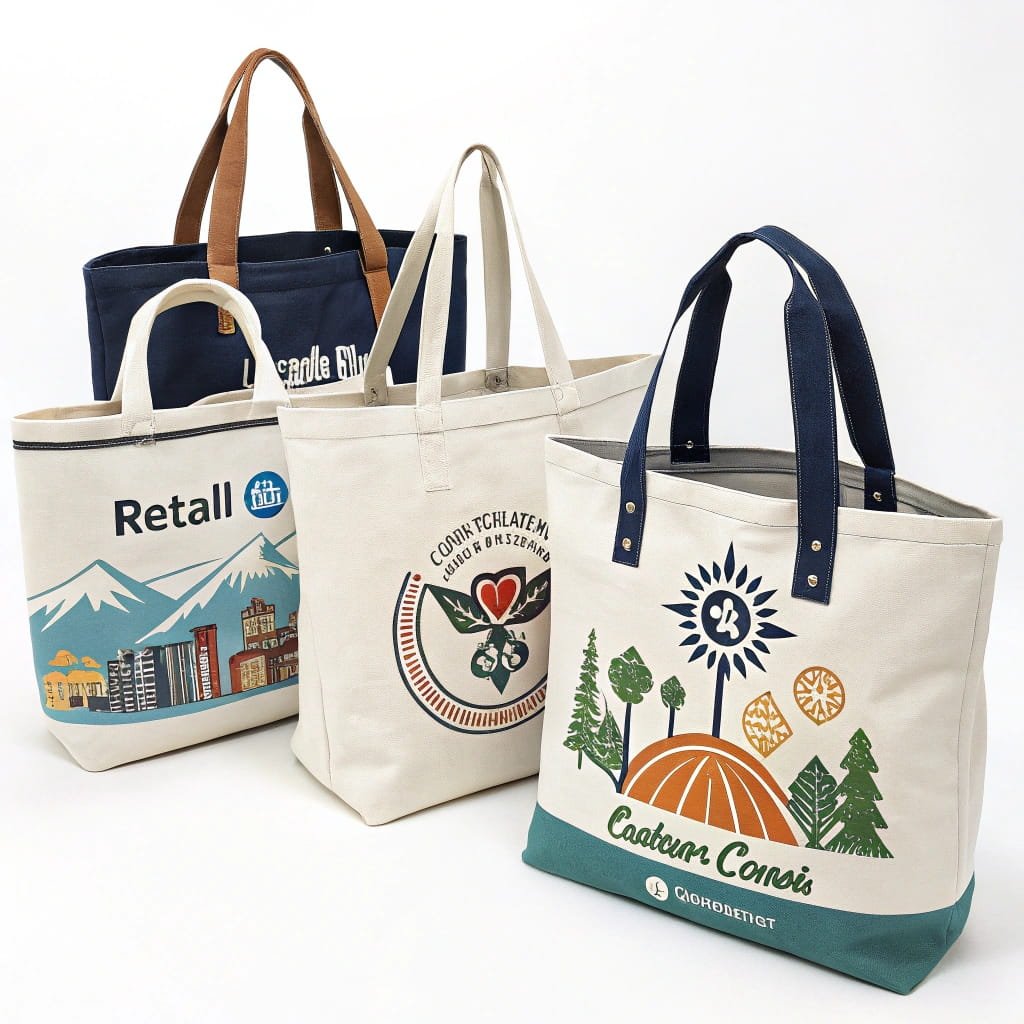
Mistake 3: Overdesigning with Cluttered Graphics
A moving bag seen at ten feet is a billboard.
Novice brand managers often treat a custom tote like a mood board—layering logos, taglines, patterns, and social handles onto the same panel. On a large-format moving bag, that instinct backfires instantly. The fabric surface, whether 200gsm canvas or woven polypropylene, has a natural tooth that diffuses fine detail. Tiny text under 12pt smears into illegibility. Thin lines bridge together. The result looks less like a premium brand statement and more like a confusing mess. What you lose first is recognition: a moving bag is seen from across a street or a subway car; if the eye can’t anchor on a single, bold element, the brand impression evaporates.
The cost penalty is just as brutal. Screen printing charges per color because each hue needs its own screen, setup, and ink run. A design with five or six colors can easily double the setup cost of a clean two-color mark. Production data shows that limiting print colors to 2–3 lowers per-unit cost by up to 15%, primarily by reducing screen fees, ink consumption, and registration correction time. Multi-color designs also raise the probability of misalignment and registration errors. When a screen shifts by even half a millimeter on a moving bag’s large print area, a clustered design turns unprofessional, forcing batch rejection or costly reprints.
- Visual Noise: Excessive elements compete for attention. No single element dominates, so the brand logo becomes invisible. A moving bag is a mobile billboard—clutter cuts recall by diluting the single-minded message.
- Print Complexity: Each added color requires a separate screen and setup. Overcomplicated tote bag print jobs inflate pre-press fees, and the factory passes registration challenges back to you as higher rejection rates and minimum order quantity hikes.
- Fabric Distortion: Textured materials like canvas or non-woven PP blur fine fonts and intricate icons. Font legibility on tote bag surfaces drops sharply below 12pt; thin strokes fill in and become unreadable, destroying any hope of retail sophistication.
The factory-level fix starts in the art file. Over 40% of first-time custom orders arrive with a pixelated logo because complex, multi-layered art is supplied as a flat JPG instead of a vector file. When you simplify to one core mark and limit colors to 2–3, it’s easier to keep the artwork as a clean vector, which eliminates pixelation entirely. Insist on a pre-press proof: a physical drawdown on the actual fabric reveals how ink absorbs and whether fine details survive. Most experienced prepress teams will flag design elements that are dangerously small or likely to bleed. If you follow their recommendations—delete unnecessary graphic noise, enlarge key marks, and stick to Pantone-matched solids—you get a bag that reinforces brand recognition at every touchpoint, at a lower per-unit cost and with zero reorder drama.
Mistake 4: Neglecting Handle and Seam Engineering
Most handle failures happen at the stitch line—not the fabric.
Standard single-needle lockstitch looks clean on a spec sheet but turns catastrophic when a customer loads three wine bottles and a jar of pasta sauce. The needle perforations create a tear-perforation line—every penetration weakens the fiber matrix. On lightweight 120 gsm polypropylene, that line fails before the bag hits 15 lbs. On a 200 gsm cotton canvas, you might see fraying after a few months of daily grocery duty. The problem compounds because most retailer-supplied templates don’t call out seam engineering at all, leaving suppliers to default to the cheapest assembly method.
- Single-needle lockstitch: Load threshold 10–15 lbs before seam elongation. Perforation line acts like a tear-off check. Common on promotional totes built to survive one trade show, not repeat retail use.
- Double-needle topstitch: Distributes pulling force across two parallel rows, raising failure point to roughly 22–25 lbs on 200 gsm canvas. Still vulnerable to stitch-cutting on grab-and-go yanks.
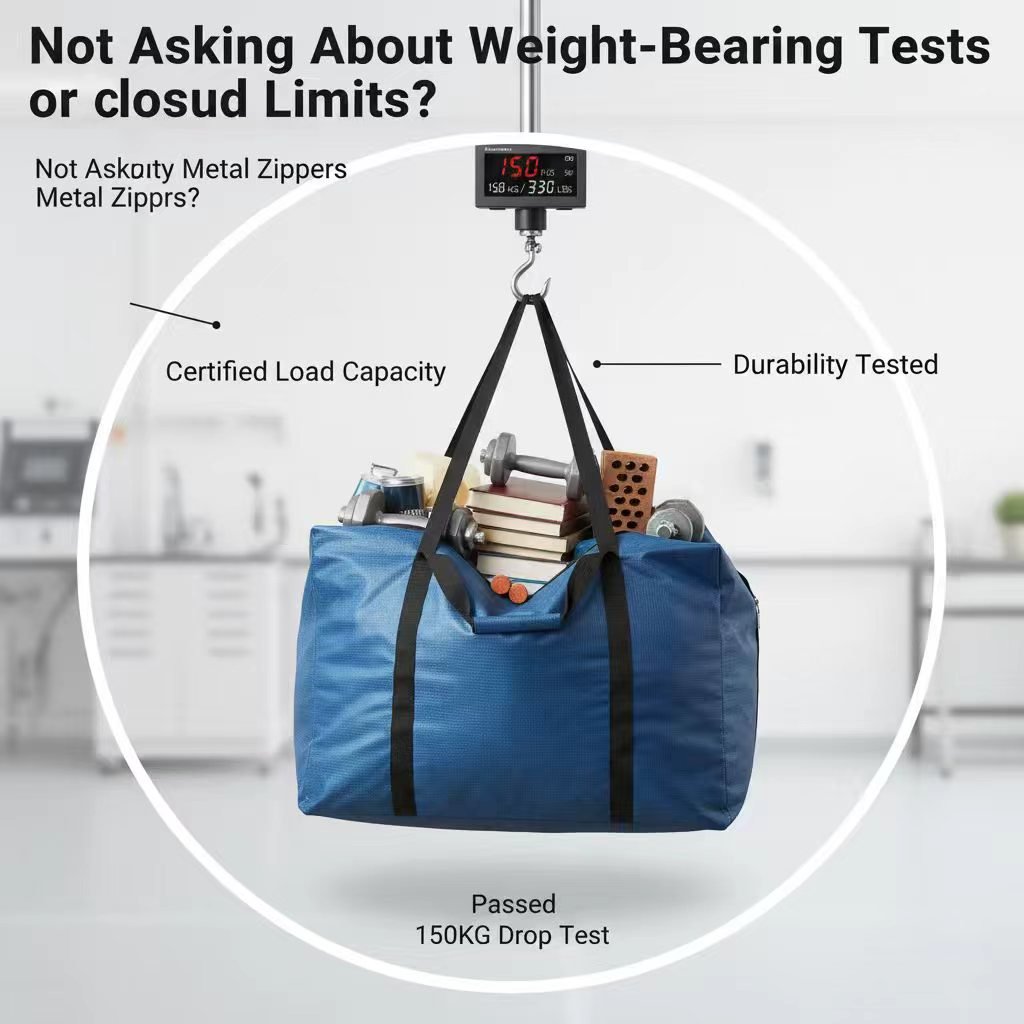
- Bartack reinforcement: A dense zigzag stitch cluster (typically 14–21 stitches per tack, Tex 70 bonded nylon thread) anchors the handle webbing to the bag body. Test data shows carry capacity jumps from 15 lbs to over 50 lbs because the load is dispersed through a reinforced junction instead of a single thread line.
On a factory spec sheet, bartack language is unambiguous. You want a vertical bartack length of 3/8 inch minimum, placed at each end of the handle attachment point, with an additional box-X stitch for webbing wider than 1 inch. If the specification only reads ‘stitch handle to bag,’ assume you’ll get a single-needle join that becomes the number one durability failure in customer hands—and the reason 74% of consumers cite product quality as their top loyalty driver. Request a close-up photo of the bartack during the pre-production sample stage. No photo, no approval.
Mistake 5: Ignoring Retail-Ready Packaging Details
Your bag is perfect.
A retail brand will spend three rounds revising print proofs, then ship 5,000 bags folded in half without a single line of packaging instruction. What arrives at the store is a box of bags that look pre-owned — creased, dusty, and untaggable. The bag itself is flawless, but the unboxing experience screams liquidation bin. For a retail merchandiser whose KPI is customer loyalty and reorder rate, this is a self-inflicted wound that costs nothing to prevent and everything to ignore.
- Fold marks that set into the fabric: Canvas above 200 gsm and coated non-woven polypropylene develop permanent memory creases when folded flat under stack pressure during container shipping. A vertical crease bisecting a logo reads as a defect to the customer, even though the structural integrity is untouched. The fix: specify roll-packing for premium runs, or at minimum, interleaving tissue at the fold point and a larger folding radius. Ask the factory how they fold — most default to the method that fits more units per carton, not the method that protects presentation.
- Lint-shedding inner linings: Cheap unbrushed cotton or low-grade polypropylene linings release microfibers that cling electrostatically to dark apparel, matte electronics, or cosmetic packaging. A brand selling black merino wool or glossy phone cases hands the customer a bag that dusts the product with visible white specks before it leaves the counter. This is a silent brand killer because customers rarely complain — they just don’t return. Specify low-lint certified linings if the tote will touch anything dark, delicate, or reflective. This is standard protocol in high-end retail packaging but gets skipped when buyers treat tote bags as a promotional afterthought rather than a brand touchpoint.
- Missing or non-functional hangtags: Without a swing tag with a euroslot punch, the bag cannot hang on standard retail peg hooks. Without a hangtag, there’s no place for the barcode, care instructions, or brand story — the bag sits in a pile on a shelf. Adhesive tags are worse: they leave residue on the fabric or detach during transit. Hangtag specifications belong in the production brief as a distinct line item: material weight, attachment method, punch type, and placement position. A factory that excels at bag construction may have zero default hangtag workflow — if you don’t ask, you don’t get one.
The packaging spec is not a secondary consideration to nail down after the bag design is finalized. It is a section of the production brief that should carry the same weight as GSM, print registration, and seam reinforcement. A single packaging sample — folded, tagged, and bagged exactly as the bulk order will arrive — should accompany the pre-production prototype. The cost of adding tissue interleaving and confirming hangtag attachment is measured in cents per unit; the cost of 5,000 bags that arrive looking damaged is measured in the margin on a full production run and the silence of customers who never reorder.
Conclusion
A tote bag is a walking billboard for your brand. When the fabric pills, the handle tears, or the logo prints misaligned, that billboard advertises poor quality. The five design mistakes covered here—from skipping a prototype to ignoring fold marks—directly attack the 74% of customers who rate product quality as the top driver of loyalty.
Before your next production run, ask the factory for a pre-production sample with reinforced bartack handles and low-lint inner lining. Browse the custom tote bag construction details page to see how those exact specs translate into a bag that earns repeat orders instead of returns.
Frequently Asked Questions
How can I avoid color mismatch when printing tote bags?
Always provide CMYK vector artwork and request a physical screen‑print sample. Factory color matching to the approved sample, not the digital proof, is the only reliable benchmark. Never skip the physical sample step before bulk production.
What GSM should I choose for a durable custom tote bag?
For daily retail use, 200–250 gsm cotton canvas gives tear resistance and a premium hand feel. If the bag will carry heavier items, a higher GSM and tighter weave. Match the GSM to the bag’s intended daily load, not just its look.
Are eco‑friendly tote bags more expensive?
Yes, recycled cotton or RPET bags typically run 10–15% more per unit than virgin materials. This premium is often offset by stronger brand perception and compliance with retail sustainability mandates. Request a cost comparison from your factory to weigh eco-benefits against budget.
How long does a pre‑production prototype take?
Typically 3–5 working days after artwork approval. Rush orders can cut that to 1–2 days but add expedite fees, so plan ahead. Block prototype time in your project timeline to avoid last-minute rush charges.
What is the most durable handle attachment method?
Bar‑tacked webbing handles with extended anchor stitching inside the seam. This distributes stress across the bag wall and prevents tear‑out under grocery-level loads. Specify bartack reinforcement on your production spec sheet for heavy-use bags.

0 Comments