




custom bag pre-production sample is the first checkpoint buyers should lock before they approve a supplier, budget, or production slot. There’s a specific kind of dread that hits when you unbox the first carton from a $50,000 order and realize the color is off. It’s not just a shade different; it’s the wrong Pantone entirely. The fabric feels thinner than what you signed off on. I’ve seen this exact scenario play out from Shanghai to Mexico City, and it almost always happens because the beautiful custom bag pre-production sample approved three months ago has little in common with the 10,000 units now sitting in your warehouse. That moment is when the real cost of a rushed sample approval becomes painfully clear.
That physical sample isn’t just a formality; it’s your most critical control point. It’s the physical benchmark against which every unit in the bulk order will be measured. Approving it is the point of no return. If you miss a detail—like checking logo embroidery quality by stretching the fabric or confirming the material’s GSM isn’t just ‘close enough’—you’ve implicitly accepted a lower standard for the entire production run. The factory is simply building to the spec you approved, and any arguments about quality tolerance after the fact are an expensive, uphill battle.
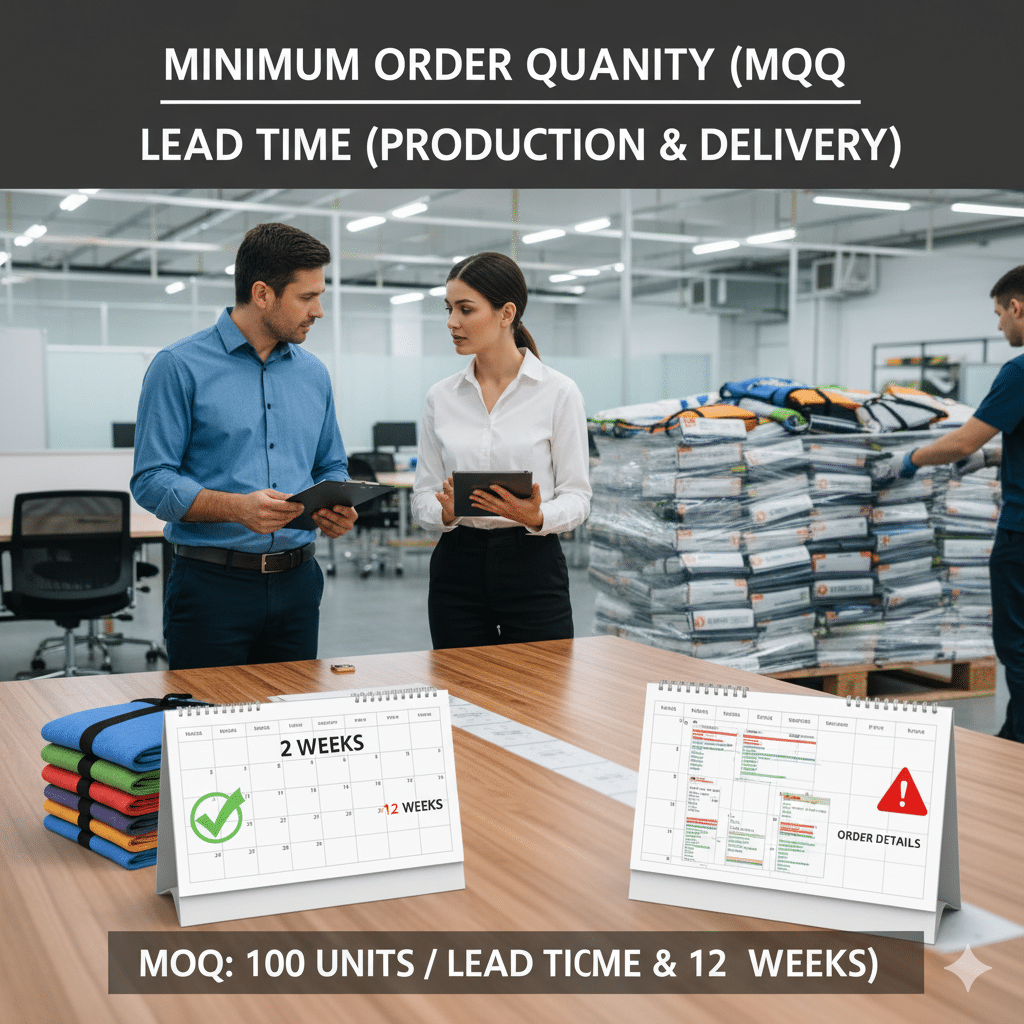
What Is a Custom Bag Pre-Production Sample?
A pre-production sample isn’t a preview; it’s the physical contract for your entire production run.
A retail merchandiser once got stuck with a $50,000 container of custom totes that
A custom bag pre-production sample (PPS) is the final, golden sample made using the exact materials, machinery, and processes intended for your mass-production order. It is not a mockup. It is the physical benchmark against which every single bag in your shipment will be judged during your incoming quality control.
This is the most critical step in the factory sample sign-off process. Approving the PPS authorizes the factory to replicate that item thousands of times. Any deviation in the final order from this approved sample is your primary leverage for rejecting a shipment or renegotiating terms. It transforms your quality tolerance from a line on a spec sheet into a tangible object.
- The Mandate: Insist that your PPS is produced from the exact fabric and thread dye lots slated for your bulk order, not ‘similar’ stock material.
- The Risk of Ignoring This: A PPS from stock material can hide metameric failure—where colors match under factory lights but diverge drastically in daylight or a retail store.
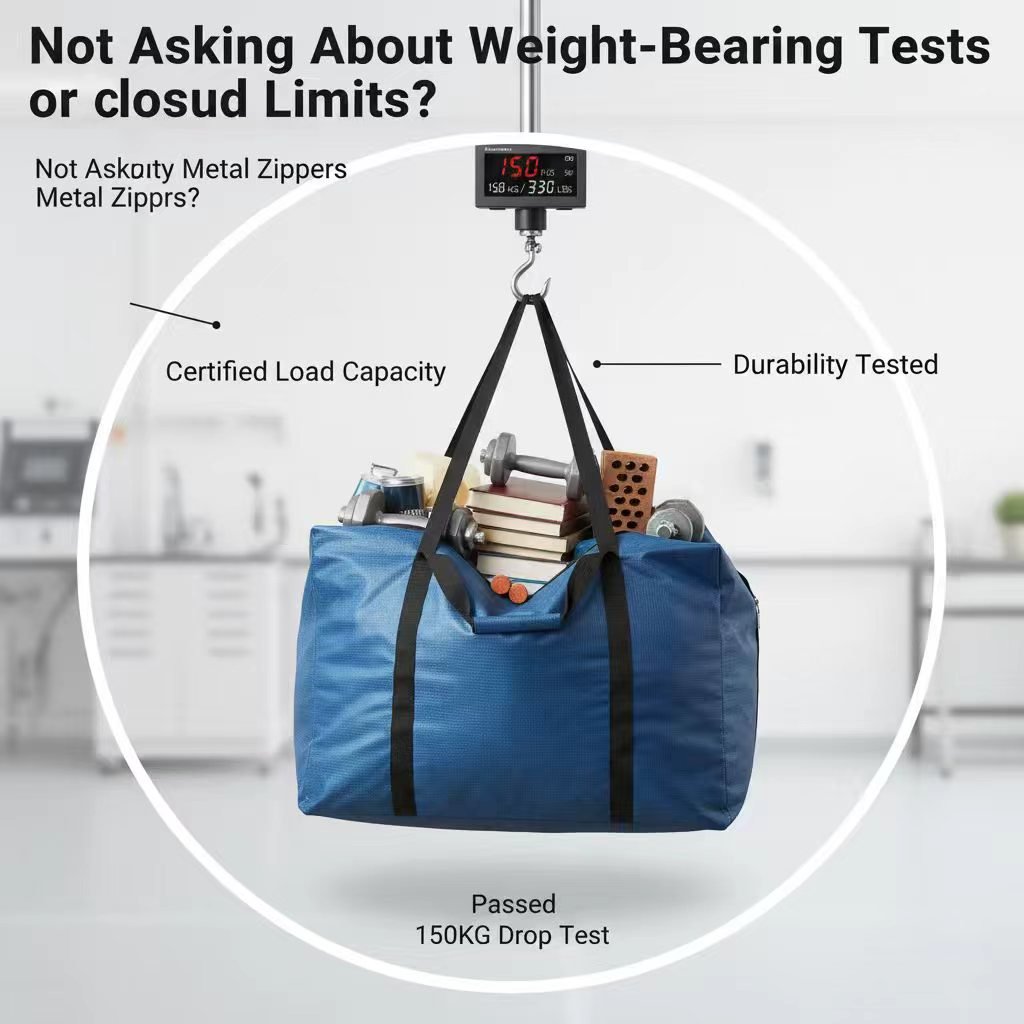
Key Elements to Inspect in Your Pre-Production Sample
The sample isn’t a prototype; it’s the physical version of your contract.
When that pre-production sample lands on your desk, your job isn’t to just glance at it. Your job is to try and break it. I’ve seen a $50K order for a retail brand go sideways because the approved sample’s beautiful embroidery unraveled on the bulk run. The factory used a different thread with lower tensile strength. This is where the real work of a merchandiser begins, and it’s your only chance to catch these costly errors.
Your tech pack is your bible. The sample is the factory’s testimony. Your task is to find any discrepancies. Here’s exactly what I look for, based on years of managing audits from Vietnam to Mexico.
- Logo & Print Integrity: Don’t just look at it. For embroidery, grab the fabric on either side and stretch it firmly. If you see puckering or hear threads snapping, the machine tension is wrong. For screen prints, do a scratch test with your fingernail. If the ink flakes, the curing was insufficient. This is a basic logo embroidery quality inspection that prevents mass failure.
- Material & Handle Strength: Your spec sheet says 120 GSM PP non-woven. Does it feel right? A proper bag material gsm check requires a fabric scale, but even a side-by-side with a known good sample can reveal if they’ve substituted a cheaper, flimsier material. Grab the handles and give them a hard, sharp pull. The cross-stitching at the anchor points is a common failure point; make sure it holds.
- Color & Stitching: Take the bag from your fluorescent-lit office outside into direct sunlight. Does your brand’s Pantone 312 C suddenly look different? That’s metameric failure, a classic sign of cheap dyes. To prevent this, demand your sample be made from the exact dye lot intended for the full production run. Also, count the stitches per inch on a main seam, then check another. Inconsistency signals poor machine calibration or operator error.
- Dimensions & Construction: Measure everything, but focus on usable interior space, not just flat external dimensions. Check the gussets. Are they folded cleanly and stitched flat, or are they bunched? A poorly constructed gusset means the bag won’t stand properly and loses functional capacity. This is a simple but critical part of the factory sample sign-off process.
Document everything with photos. Take pictures of your measurements and any defects you find. Clear, visual evidence is the only language that matters when you need to reject a sample or demand corrections before approving mass production.
Logo Print & Embroidery Quality
Your logo is the signature on your brand’s reputation; a sample is where you ensure it isn’t a forgery.
Most merchandisers just glance at the logo and check the Pantone color. That’s a rookie mistake that leads to peeling or distorted logos on thousands of bags. You need to physically stress-test the application because what looks good out of the box might not survive a week of actual use.
Here’s how to move beyond a simple visual check for both print and embroidery.
- Print Adhesion Test: Firmly press strong packing tape over the print and rip it off. If any ink flakes or lifts, the curing process is flawed. Reject it. This mimics long-term abrasion and wear.
- Embroidery Stretch Test: This is non-negotiable. Grab the fabric on either side of the embroidery and pull firmly. If the fabric puckers or you hear threads snapping, the tension is wrong. This is how you catch a tension failure before 10,000 units are sewn incorrectly.
- Backing & Finishing: Turn the bag inside out. For embroidery, is the stabilizer backing trimmed neatly, or is it a large, sloppy patch? For prints, is there overspray or residue? Sloppy finishing is a red flag for the factory’s overall quality tolerance.
- Metamerism Check: Photograph the sample’s color next to your Pantone swatch under two different light sources: direct sunlight and warm indoor light. If the color appears to shift, you have a metameric mismatch that will cause customer complaints.
This isn’t about being difficult; it’s about enforcing the standard you defined in your tech pack. A factory that gets these details right is a partner you can trust.

Material Thickness, Feel & Handle Strength
The spec sheet says 150 GSM, but the customer feels ‘cheap’.
Your tech pack specifies a material weight, like 150 GSM non-woven polypropylene. But numbers don’t capture brand perception. A supplier can hit that spec with a low-density base fabric and a thick, crinkly lamination. The result technically passes the bag material gsm check but feels flimsy and cheapens your brand the moment a customer touches it. The pre-production sample is your one chance to verify the tactile quality your brand requires.
Handles are the most common point of failure, and a simple pull test isn’t enough. Load the bag with 1.5x its intended weight and give it several sharp jerks—this simulates real-world use and exposes weak stitching that a static test would miss. A proper factory sample sign-off process means inspecting the handle attachment points for reinforced ‘X’ box stitching. Anything less is a significant red flag for mass production failure.
- Tactile & Density Check: Rub the material between your fingers. Does it feel smooth or coarse? Does it sound ‘crinkly’? Hold the empty bag by its top edge; does it hold its structure or slump immediately? This reveals the quality of the base weave, not just the lamination.
- Handle Stress Test: Grab the fabric where the handle webbing is sewn to the bag’s body. Pull the two apart forcefully. If you see the bag material stretch, pucker, or tear around the stitches, the fabric itself is the weak point, and the handles will eventually rip out under load.
- Webbing Integrity: Examine the handle webbing itself. Is it tightly woven, or can you see gaps? Try to fray a cut end. Low-quality polypropylene webbing will unravel easily, indicating it will look worn and fail quickly with customer use.
| Inspection Point | Specification (Tech Pack) | Verification Method | Accept/Reject Criteria |
|---|---|---|---|
| Material Weight (GSM Check) | e.g., 140 GSM Non-Woven Polypropylene (NWPP) | Compare the sample’s feel and density against your approved master swatch. Request the factory’s material batch test report to verify GSM data. | PASS: Weight and stiffness feel identical to the master swatch; reported GSM is within a +/- 5% tolerance. FAIL: Feels noticeably flimsier or stiffer; GSM deviates by more than 5%. |
| Fabric Hand-Feel & Finish | e.g., ‘Soft-touch matte finish, consistent texture’ | Rub the fabric between your thumb and forefinger. Assess the texture, pliability, and overall tactile impression. Does it align with your brand’s quality perception? | PASS: The feel is premium and matches the intended customer experience. FAIL: The material feels cheap, scratchy, overly plastic-like, or has an inconsistent texture. |
| Handle Attachment Strength | e.g., ‘Reinforced X-box stitching with high-tensile thread’ | Load the bag with 1.5x the intended carrying weight (e.g., load 15kg for a 10kg rated bag). Lift by the handles and hold for 30 seconds. Firmly tug on each handle base. | PASS: No sound of tearing or threads popping. Stitching remains tight and flush with the bag body. FAIL: Any visible fabric strain, stitch loosening, or tearing at the attachment points. |
| Handle Material & Ergonomics | e.g., ‘1.25-inch wide, cotton webbing for a comfortable grip’ | Measure the handle width with a ruler. Grip the handles as a customer would. Are the edges sharp? Is the width sufficient to distribute weight comfortably on a hand or shoulder? | PASS: Handle dimensions match spec; grip is comfortable and feels durable. FAIL: Incorrect material or width used; edges are rough or sharp, providing a poor user experience. |

Color Accuracy & Stitching Consistency
A perfect Pantone match under factory lights can become a brand disaster under retail fluorescents.
Don’t just hold your sample up to a Pantone swatch. For example, a $50K order for ‘
For stitching, looking for loose threads is amateur hour. The professional metric is Stitches Per Inch (SPI). For a durable custom tote, you should be seeing 7-9 SPI. Fewer than 7 and the seams are weak; more than 10 can cause the fabric to pucker or tear under load. Use a ruler and count it. This is a non-negotiable part of your quality tolerance.
- Light Source Test: Check your tote bag color matching pms under three conditions: direct sunlight, warm indoor light, and cool fluorescent/LED light. Photograph any color shifts against the swatch as evidence.
- Dye Lot Confirmation: Demand written confirmation that the sample’s fabric and thread come from the exact bulk dye lots intended for the main production run. This prevents ‘sample is perfect, bulk is off’ surprises.
- Stitch Density Check: Measure the SPI at major seams—sides, bottom, and especially where handles are joined. Ensure it meets your spec (typically 7-9 SPI). This is a primary indicator of durability.
- Seam Stress Test: Firmly pull on opposing sides of a seam. For logo embroidery quality inspection, gently stretch the surrounding fabric. If you hear threads snapping or see excessive puckering, reject the sample.
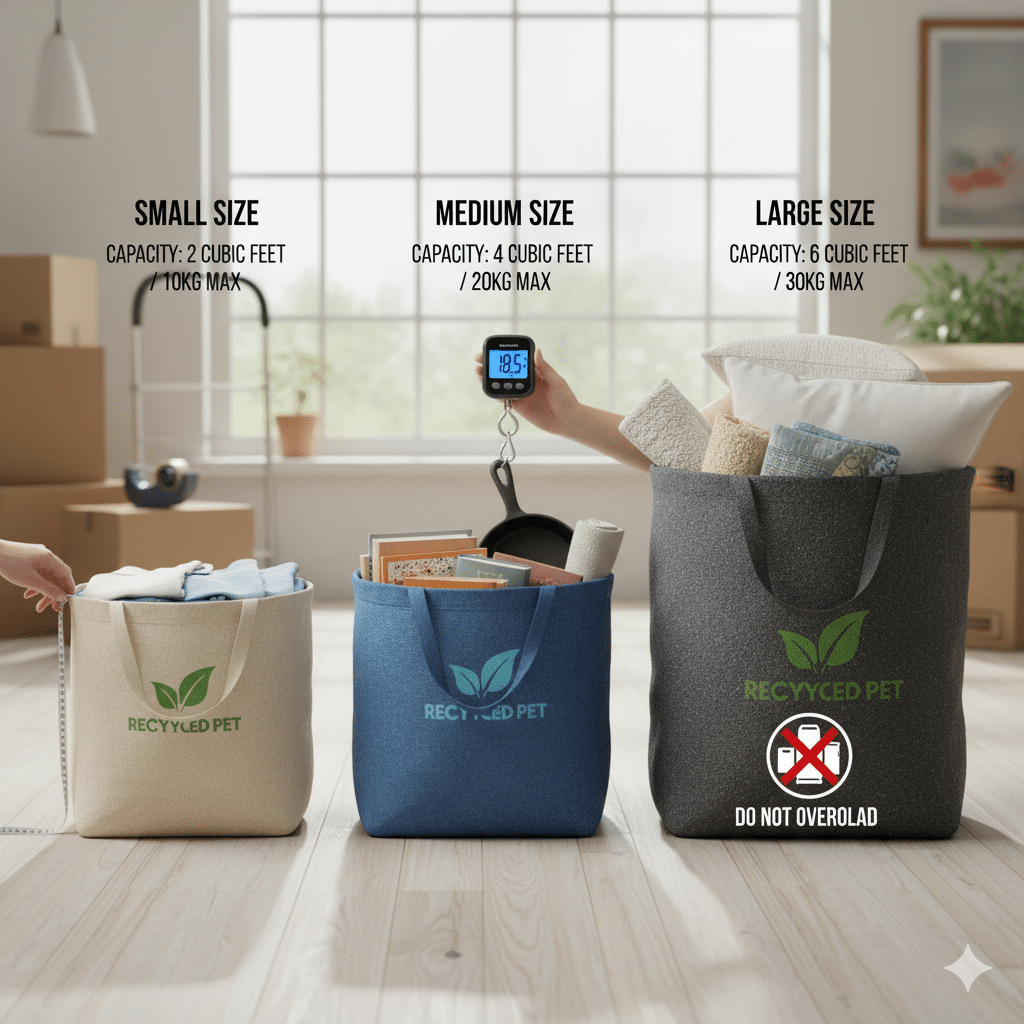

Dimensions and Construction Checks
A 5mm deviation seems small on one sample.
Your tech pack is a blueprint, not a suggestion. I’ve seen buyers get burned because a bag that was 1cm too narrow meant their product box wouldn’t fit, rendering an entire shipment useless. This check isn’t just about finding errors; it’s about formally agreeing on the acceptable quality tolerance with your supplier you sign off.
Forget the flimsy sewing tape. Use a calibrated metal measuring tape for major dimensions and digital calipers for hardware or specific features. The goal is to remove all ambiguity from the factory sample sign-off process. If you measure it, they have to match it.
- Key Dimensions: Lay the bag flat and measure length, width, and gusset depth. A typical tolerance is +/- 5mm, but if your bag must fit into specific packaging or displays, you need to specify a tighter tolerance (e.g., +/- 2mm) in your PO. Don’t assume the factory knows.
- Handle & Strap Integrity: Measure the handle ‘drop length’—the distance from the peak of the handle to the top edge of the bag. This impacts how it’s carried. Then, yank firmly on each attachment point. If you see stitches straining or the fabric puckering, you’ve found a future failure point.
- Internal Seam Construction: Turn the bag inside out. This is where factories reveal their true quality level. Look for clean, overlocked edges, not raw, fraying fabric. Check for straight stitch lines, especially at the corners and where the gusset joins the main body. Crooked seams signal rushed, low-skill assembly.
| Check Point | Inspection Method | Tech Pack Specification | Acceptable Tolerance | Brand Impact of Failure |
|---|---|---|---|---|
| Overall Bag Dimensions (H x W x D) | Use a calibrated measuring tape on a flat surface, measuring from seam to seam. For depth, measure the fully expanded gusset. | Verify against the exact Height, Width, and Depth values listed in your technical specification sheet. | ± 0.25 inches (approx. 6mm). Stricter tolerance may be required for product-specific inserts. | Inconsistent sizing affects retail display uniformity, packaging efficiency, and can prevent the customer’s intended product from fitting, leading to returns. |
| Handle/Strap Length & Drop | Lay the strap flat to measure total length. For ‘drop’, hold the bag by the handle’s center and measure from the top of the handle to the top edge of the bag. | Confirm both total length and handle drop measurements match the tech pack callouts. | Length: ± 0.5 inches; Drop: ± 0.25 inches. | An incorrect drop length changes the bag’s aesthetic and ergonomic profile (e.g., a shoulder bag becomes a hand-carry), frustrating the end-user. |
| Gusset Construction & Symmetry | Expand the bag and place it on a flat surface. Measure the depth of the bottom and side gussets. Check that corners are crisp and symmetrical. | Ensure the gusset type (e.g., bottom-only, full side) and depth match the design. | Depth: ± 0.25 inches. Must be visually symmetrical with no twisting. | A poorly constructed or asymmetrical gusset prevents the bag from standing upright, reduces its functional volume, and signals a cheap, low-quality product. |
| Feature Placement (Pockets, Labels, Zippers) | Using a ruler, measure the position of each component relative to the nearest seams or edges (e.g., ‘Woven label is 2 inches from top seam, centered’). | Compare every placement measurement directly against the callouts on your tech pack diagram. | ± 0.125 inches (approx. 3mm). Critical brand elements like logos should have near-zero tolerance. | Off-center logos, crooked pockets, or misaligned zippers are immediate visual red flags that severely undermine brand credibility and perceived value. |
| Seam Allowance & Reinforcement | Turn the bag inside out. Measure the width of the fabric from the stitch line to the edge. Visually confirm specified reinforcements (e.g., ‘X’ box stitch, bar tack) at stress points. | Verify seam allowance width (e.g., 0.5 inches) and the presence and type of all specified reinforcement stitching. | Seam Allowance: ± 0.1 inches. Reinforcements are non-negotiable and must be present as specified. | Inadequate seam allowance or missing reinforcements at handle joints lead directly to structural failure, seam blowouts, and a reputation for poor durability. |
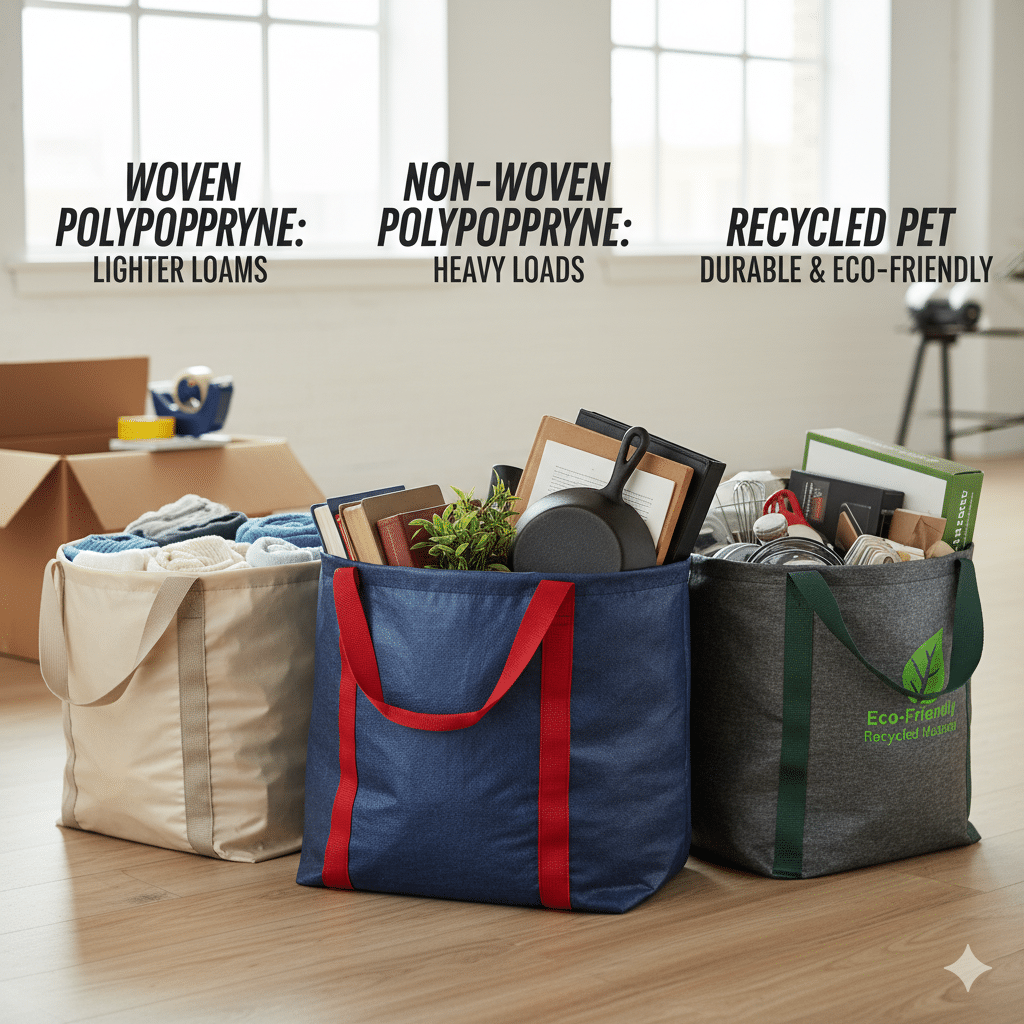
Pre-Production Sample Approval Checklist
Signing off on a sample is signing off on 10,000 copies.
That physical sample in your hands is the single most important contract between you and the factory. It’s the physical representation of your tech pack, and your approval is the final gate before production begins. A lazy inspection here is how brands end up with a container of tote bags in the wrong Pantone, or with handles that tear off. This isn’t just a ‘look-see,’ this is your final chance to de-risk the entire order. Here’s the professional pre-production sample approval checklist I’ve used on factory floors across a dozen countries.
- Material Batch Confirmation: Don’t just confirm ’12oz canvas.’ Get written confirmation this sample was made from the exact fabric and thread rolls reserved for your bulk run. This is the only way to prevent lot-to-lot color shifts and ensure a consistent bag material gsm check. A good factory will have no problem providing this.
- Multi-Light Source Color Check: Check your tote bag color matching pms under both natural daylight (by a window) and warm indoor light. Colors can appear to match under one light but not another—a phenomenon called metamerism. This simple test prevents a very expensive surprise when the bags arrive.
- Logo & Print Stress Test: This is a critical logo embroidery quality inspection. For embroidery, gently stretch the fabric around it. If threads pull or the fabric puckers, the tension is wrong. For screen prints, do a fingernail scratch test in an inconspicuous area. If it flakes, the ink hasn’t cured properly. These are common defects in bag samples.
- Structural Load Test: Don’t just look at the seams. Put 1.5x the bag’s specified weight capacity inside and hold it by the handles for 60 seconds. Pay close attention to the handle anchor points and corner seams. Any sign of strain is an immediate red flag and means you need to address what to do if the sample is wrong with the supplier.
- Dimensional & Functional Audit: Use a measuring tape. Verify every dimension against your tech pack, ensuring it’s within the agreed-upon quality tolerance (e.g., +/- 5mm). Test every zipper, snap, and pocket. Does the ‘laptop sleeve’ actually fit a standard laptop? This is the final step in the factory sample sign-off process.
Common Defects That Signal Factory Red Flags
A defect isn’t just a mistake; it’s a data point revealing how a factory truly operates when they think you’re not watching.
Experience from auditing suppliers in numerous countries reveals a critical insight: the most dangerous sample isn’t the one with obvious
- Stitch Integrity Failure: Forget just looking for loose threads. Check for puckering along seams, which indicates incorrect machine tension. For logo embroidery, physically stretch the surrounding material. If the stitches pull apart or the backing tears, they have tension or stabilization failures that will plague the entire production run.
- Material ‘Drift’: The sample’s fabric feels right, but is it? A factory might use a slightly lower GSM fabric or a different coating than specified in the tech pack. This is a test. If you don’t catch it during the bag material GSM check, they know they can get away with it on the bulk order, saving them cents per unit and costing you durability.
- Metameric Color Failure: The bag’s color perfectly matches your PMS swatch under the factory’s fluorescent lights, but looks completely different in daylight. This is a classic metameric mismatch. It signals the factory lacks proper color-matching equipment like light boxes and is just eyeballing it—a disaster for brand consistency.
- Hardware & Component Shortcuts: The zipper feels flimsy, the plastic buckle seems brittle, or the webbing for the handle is a looser weave than specified. These components are where costs are often cut first. A cheap zipper that fails after 20 uses will reflect on your brand, not their component supplier.
If you see these issues on a pre-production sample—the single unit they are making to win your business—it’s a direct preview of the quality tolerance they will apply to your full 10,000-unit order. Don’t explain it away; document it and demand answers.
Conclusion
Most merchandisers stop after the physical checks. But the final 10% of a professional factory sample sign-off process is what truly protects your investment: formal, photographic documentation. This isn’t just an email saying ‘approved.’ It’s the binding reference you send to the factory, establishing the non-negotiable quality tolerance for the entire production run. This documented sample approval becomes your leverage if the mass production order deviates.
Questions fréquemment posées
What’s the main purpose of a pre-production sample?
A pre-production sample is the physical contract for your entire order, serving as the final quality standard before mass manufacturing begins. It’s your last chance to physically verify. Treat this sample as the golden standard that your final bulk order must match.
What should I check first on a custom bag sample?
First, verify the bag’s dimensions, construction, and material against your approved tech pack line by line. Then, immediately assess functional elements like handle strength, zipper operation, and overall durability. Always perform physical stress tests on handles and seams, not just visual checks.
What if the sample’s color doesn’t match my Pantone?
Immediately document the color variance with photos and provide clear, written feedback to the factory referencing your exact Pantone code. A significant mismatch requires correction. Never approve a sample with incorrect colors unless you will accept that color for the entire order.
Are small defects on the sample a major problem?
Yes, even minor defects on a pre-production sample can signal larger quality control issues with the factory. A sample should represent the factory’s best work, so any flaws in. Document every defect and demand a corrected sample to test the factory’s responsiveness.
What happens after I approve the sample?
Your formal approval authorizes the factory to procure all materials and begin mass production, using the sample as the binding quality benchmark. Any changes requested after. Always provide approval in writing and retain the sample to check against the first production units.


0 commentaires