




You spec a 600D Oxford tote with a Pantone 185C logo, approve the pre-production sample, and the $50K order lands with dye lots so far off it looks like a different shade entirely. That gap between what the factory confirms and what arrives in the container is exactly why you need a structured process to choose custom tote manufacturer. After auditing suppliers across a dozen countries, I’ve seen the same pattern repeat: the sample approval stage gets rushed, and the mass production run drifts on color, stitch density, or handle reinforcement.
Most retail merchandisers focus on MOQ and FOB pricing first. Those matter, but the real differentiator is whether the factory controls its own decoration line or subcontracts printing and embroidery. That single detail determines lead time consistency and how tight your quality tolerance can be. The checklist below covers the vetting steps that separate a partnership from a one-off transaction — starting with the make-or-break decision between OEM and ODM models.
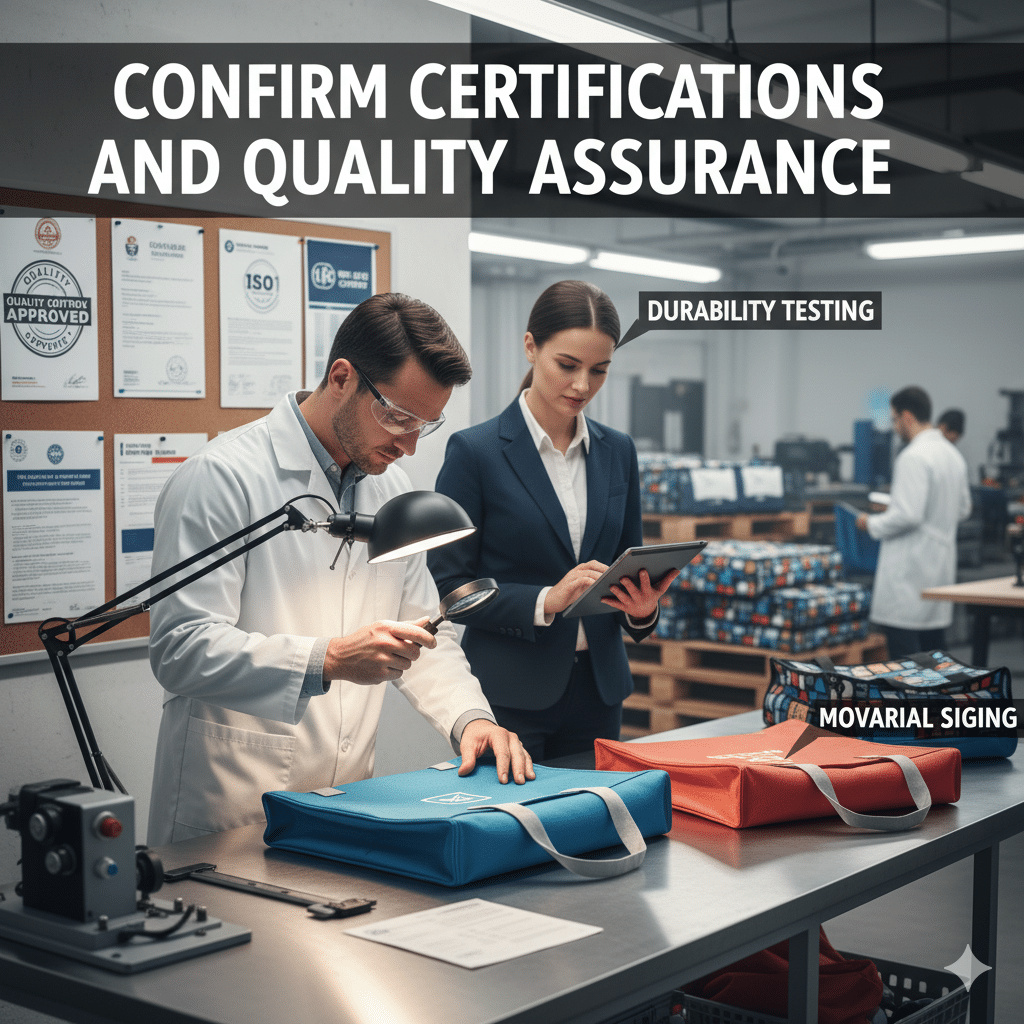
OEM vs ODM: Which Model Fits Your Custom Tote Project?
ODM for speed and low MOQ; OEM for full IP control over proprietary designs.
The choice between OEM and ODM isn’t about quality — both can deliver premium totes. It’s about who owns the design file and how fast you need to move. ODM lets you pick from existing templates and customize colors, materials, and print placement. That means lower minimum order quantities — often 500–1,000 units versus 1,500–3,000 for a full OEM build — and a 2–4 week lead time advantage because the patterns are already tooled.
- IP ownership: OEM locks the design to your brand only. If that bag silhouette is part of your product strategy, you don’t want a competitor sourcing the same cut from the same factory.
- Setup costs: ODM waives most tooling fees because the bag body is standard. You pay only for print screens or embroidery digitizing. OEM requires full pattern development ($200–$800), sampling iterations, and often a dedicated production slot.
- Flexibility: ODM works best when you’re verifying a new retail line or testing a seasonal theme. If the bag flops, you exit with minimal sunk cost. OEM makes sense when you’ve validated the market and want exclusive shelf differentiation.
Where buyers get burned is the second quote. A $4.50 ODM tote can jump to $6.20 after you add custom pocket configurations, reinforced bottom panels, and woven labels — things that require new cutting dies and additional assembly steps. Always ask for a line-item breakdown that separates standard template costs from customization charges.
Also watch for hidden fees that aren’t in the initial price sheet: screen-printing setup ($30–$80 per color per position), embroidery digitizing ($25–$75 per logo), and care-label application ($0.12–$0.30 per bag). A factory that handles printing and embroidery in-house — rather than subbing to a third shop — will quote these lower and deliver more consistent color matching because the same team controls the substrate and the ink.
For a retail brand merchandiser, the practical rule is this: use ODM for your first production run, invest in OEM for your hero SKU. That way you keep MOQ risk low during validation and build a proprietary asset once you know the bag sells.
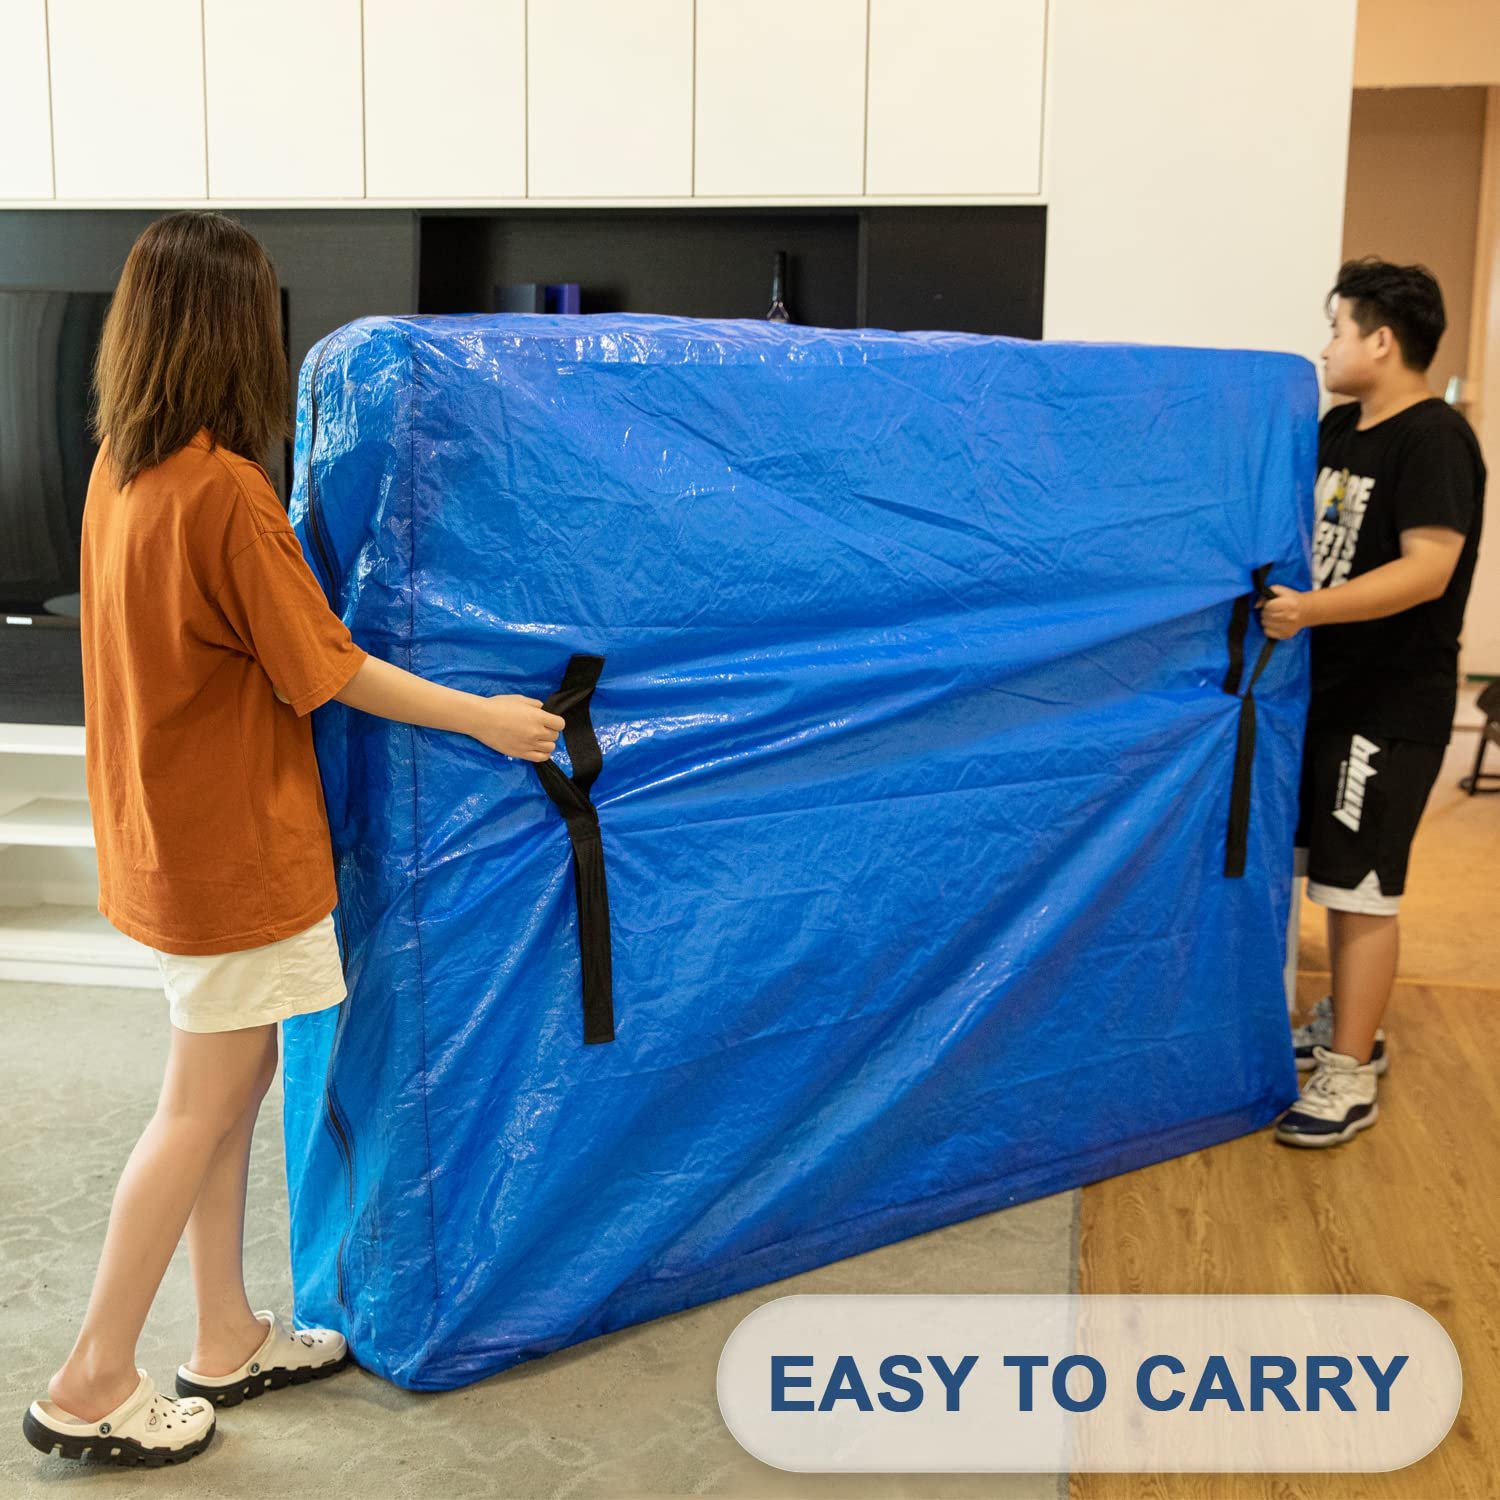
The Ultimate Supplier Vetting Checklist
A pre-production sample with your exact Pantone references is non-negotiable — skip it and you risk 50,000 bags with mismatched colors.
Vetting a custom tote bag manufacturer requires more than comparing price per unit. You need to verify that their material sourcing and decoration processes align with your brand standards. Here’s what to check.
- Material certifications: Request certificates for REACH (EU), OEKO-TEX (textile safety), and BSCI (social compliance). These are non-negotiable for retail distribution. Without them, your bags may be rejected by customs or retailers.
- Fabric grade & tolerance: Specify woven PP vs Oxford fabric. For woven PP, ask for density in gsm (e.g., 120gsm vs 200gsm). For Oxford, check denier (300D vs 600D). Demand a quality tolerance clause — ±5% is industry standard; anything wider indicates inconsistent production.
- Print method comparison: Screen printing offers low cost per unit on large runs but charges $50–$150 per color setup. Embroidery looks premium but adds $0.50–$2.00 per bag and requires digitizing ($25–$75 per design). Heat transfer is ideal for complex art but degrades faster on heavy-use totes.
- In-house vs subcontracted: Ask if printing/embroidery is done in-house. Subcontracting introduces lead time delays and quality inconsistency. A factory that runs its own decoration line can turn samples in 5 days versus 15.
- Hidden cost check: Request an all-inclusive price breakdown: screen setup fees, embroidery digitizing, care-label application, and artwork revisions. These are often excluded from initial quotes and can add 20–30% to final cost.
Once you’ve verified these points, move to pre-production sampling — the only true test of a supplier’s capability.
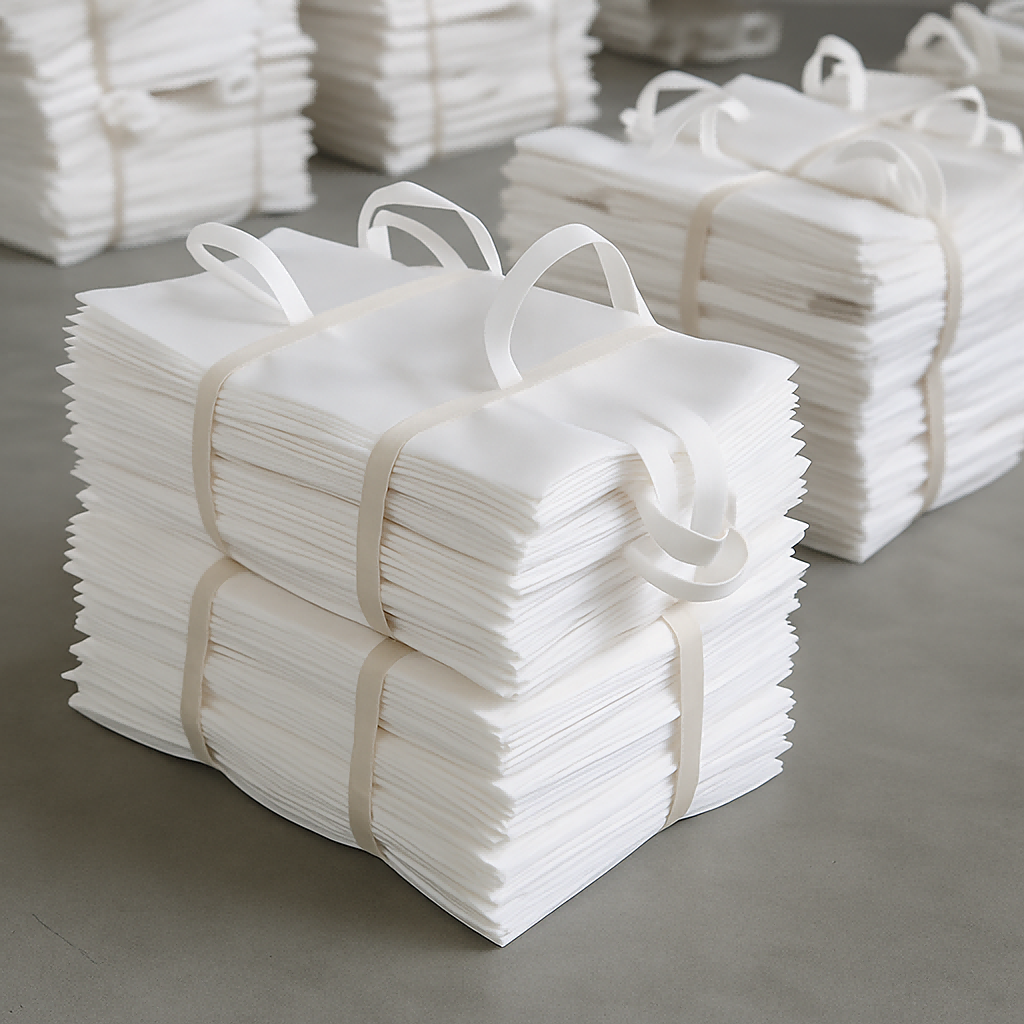
Pre-Production Sampling: Must-Check Details
A pre-production sample is the only reliable way to catch color mismatches and weak stitching before your entire order ships.
Skipping physical sample approval is the most common mistake I see retail brands make. I’ve watched a $50K order land with the logo printed in cyan instead of Pantone 294C because the buyer approved a digital mock-up. Digital screens vary wildly. A hex code that looks navy on your MacBook can read as a washed-out blue on a woven PP surface. There is no substitute for laying your physical pre-production sample next to your Pantone chip under daylight and warehouse lighting. If the factory charges extra for a pre-production sample, pay it. That one sample costs a fraction of what you will spend re-shipping 5,000 misprinted tote bags back to China.
- Color Matching & Print Accuracy: Test every print location with a colorimeter if possible, or at minimum a visual match under 5000K daylight lamp. For screen printing, check for ink opacity on dark fabrics — a thin layer will look washed out. For sublimation on polyester, verify that the white border around the print is sharp and the dye has penetrated evenly. Insist on a signed sample approval report that lists the Pantone reference and acceptable tolerance (e.g., ΔE ≤ 2.0). Without this, you cannot reject a run later.
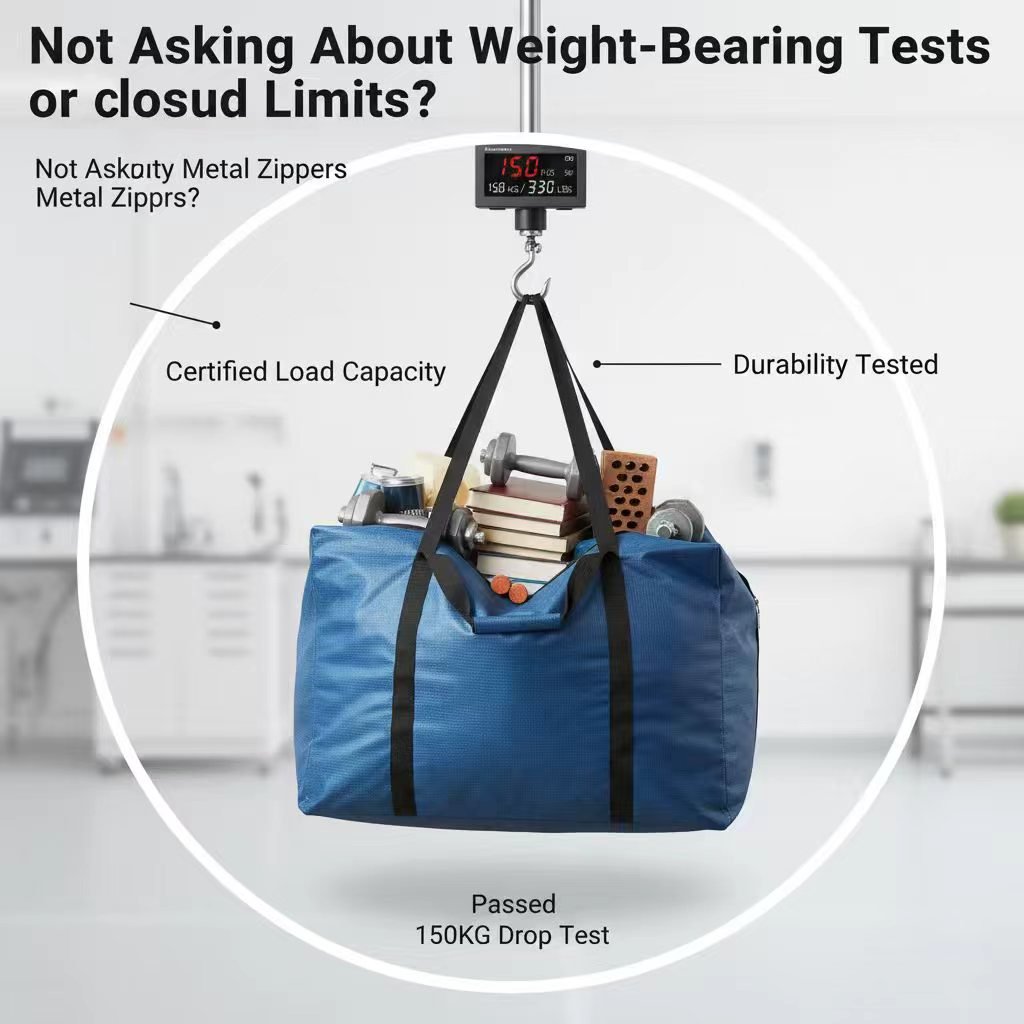
- Stitching & Handle Stress Tests: Handle stitching is the number one failure point on tote bags used for retail or events. Test the handle attachment by hanging 15 kg (33 lbs) from one handle for 60 seconds. The seam should not pull or fray. Check the lock-stitch length — it should be at least 4 stitches per inch. Bar-tack reinforcement at stress points (handle joins and corners) is non-negotiable for any bag rated over 10 kg. If your sample shows single-needle stitching with no bartack, that bag will fail within 20 uses.
One detail that separates professional buyers from amateurs: measure the actual fabric weight on your sample. A supplier might quote 600D Oxford, but the sample comes in at 450D. Weigh the bag on a calibrated scale and compare to the spec sheet. A 20% drop in fabric weight means a 30% drop in tear strength. You will feel it the first time a customer loads a heavy bottle into that bag.
MOQ, Pricing & Hidden Costs to Clarify Before Ordering
The cheapest quote is the most expensive mistake—screen setup and embroidery digitizing alone can add $200–$600.
Every retail merchandiser I’ve worked with has seen it: a supplier quotes $2.80 per bag, the PO is signed, then the final invoice lands 40% higher. The culprit isn’t material cost—it’s the hidden fees buried in the fine print. When you’re evaluating a custom tote manufacturer, the unit price is meaningless without the full cost breakdown. The industry rule of thumb is to request an itemized quote that separates fabric, labor, decoration, packaging, and logistics. If a supplier resists breaking it out, that’s a red flag.
- Screen-printing setup: Most factories charge a non-reusable setup fee per color per print location. For a standard two-color logo on a tote bag, expect $50–$150 per screen. A quote that lumps this into “tooling” often hides a multi-hundred-dollar line item.
- Embroidery digitizing: Need a stitched logo? The digitizing file costs $40–$90 per design, and that’s before the first stitch. Some suppliers will quote the piece price only to add the digitizing charge after sample approval.
- Care-label application: Seems trivial, but attaching a woven care label adds labor and material that many initial quotes conveniently omit. I’ve seen $0.20 per bag turn into $0.40 when the label requirement is confirmed.
- Sample and courier fees: Pre-production samples are non-negotiable—you need a physical reference with your exact Pantone and logo placement. Some factories offer one free sample; others charge $30–$100 plus shipping. Clarify this before the PO.
Beyond these line items, the biggest hidden cost is subcontracting. A factory that touts low MOQ (e.g., 200 pieces) often lacks in-house embroidery or print capability. They send your job to a third-party shop, which adds 7–14 days to lead time and introduces quality inconsistency. The result: color mismatch, stitching that doesn’t match the sample, and a rush fee to hit your launch date. Always ask: “Do you have in-house embroidery and screen printing?” If the answer is no, add 15% to the timeline and 10% to the budget.
Finally, the MOQ itself is a cost trap disguised as a starting point. A supplier may quote 500 pieces at $3.00 each, but their standard MOQ is 1,000. The difference is often hidden in a “short-run surcharge” of 20–30%. For a retail brand testing a new tote design, that surcharge can kill the margin before the product hits the shelf. Before signing, ask for the exact MOQ per item, the surcharge table for lower quantities, and whether they offer graduated pricing by 100-piece increments. The goal isn’t to avoid costs—it’s to know every dollar before you commit.
| Cost Category | Typical Cost (USD) | What It Covers | Hidden Cost Alert |
|---|---|---|---|
| Minimum Order Quantity (MOQ) | Free (per bag pricing) | Minimum units for custom production; typically 500–1,000 pcs for OEM, lower for ODM | Some suppliers enforce per–color–way MOQs; a 3–color design may require 1,500+ pcs |
| Sampling Fee | $100 – $500 | Pre–production sample with your logo and Pantone color | Fee often quoted only after design approval; rush sampling can double the cost |
| Screen Printing Setup | $50 – $150 per color per design | Screen creation and initial setup for logo imprint | Rarely included in unit price; a 4–color logo can add $200+ in setup fees |
| Embroidery Digitizing | $25 – $75 per design | Converting your logo into a stitch–ready file | Often missing from initial quotes; some factories charge per 1,000 stitches |
| Care Label Attachment | $0.10 – $0.30 per bag | Sewing or heat–sealing care/wash labels into each bag | Frequently omitted from line–item breakdown; can add 10%+ to total order cost |
Quality Assurance & Compliance Red Flags
Your brand’s reputation depends on catching these 4 red flags before you sign the PO.
After auditing tote bag factories across 12 countries, I can tell you that most retail brands focus 90% of their attention on price and MOQ, then get burned by quality failures that were visible from the start. For a retail brand merchandiser, a one-degree color shift or a handle that tears after 10 uses isn’t just a defect—it’s a direct hit to your brand image. Here are the specific quality assurance and compliance red flags that should stop you from proceeding with a supplier.
- No Signed Pre-Production Sample Approval: If a supplier does not require you to sign off on a physical pre-production sample (with your exact logo, Pantone numbers, and placement measurements), you are handing them a blank check for interpretation. This is the number one cause of the $50K color mismatch scenario. Always request a sample that matches your approved quality tolerance—±0.5mm on print position, ±1 Pantone shade max.
- Missing Compliance Certifications (BSCI, REACH, etc.): Retailers in the US and EU increasingly demand proof of ethical manufacturing (BSCI) and chemical safety (REACH). If a supplier cannot produce a valid certificate or at least a recent audit report, you are taking on compliance risk that could get your shipment rejected at customs or your brand delisted by major retailers. A BSCI audited bag manufacturer provides traceability that protects your supply chain.
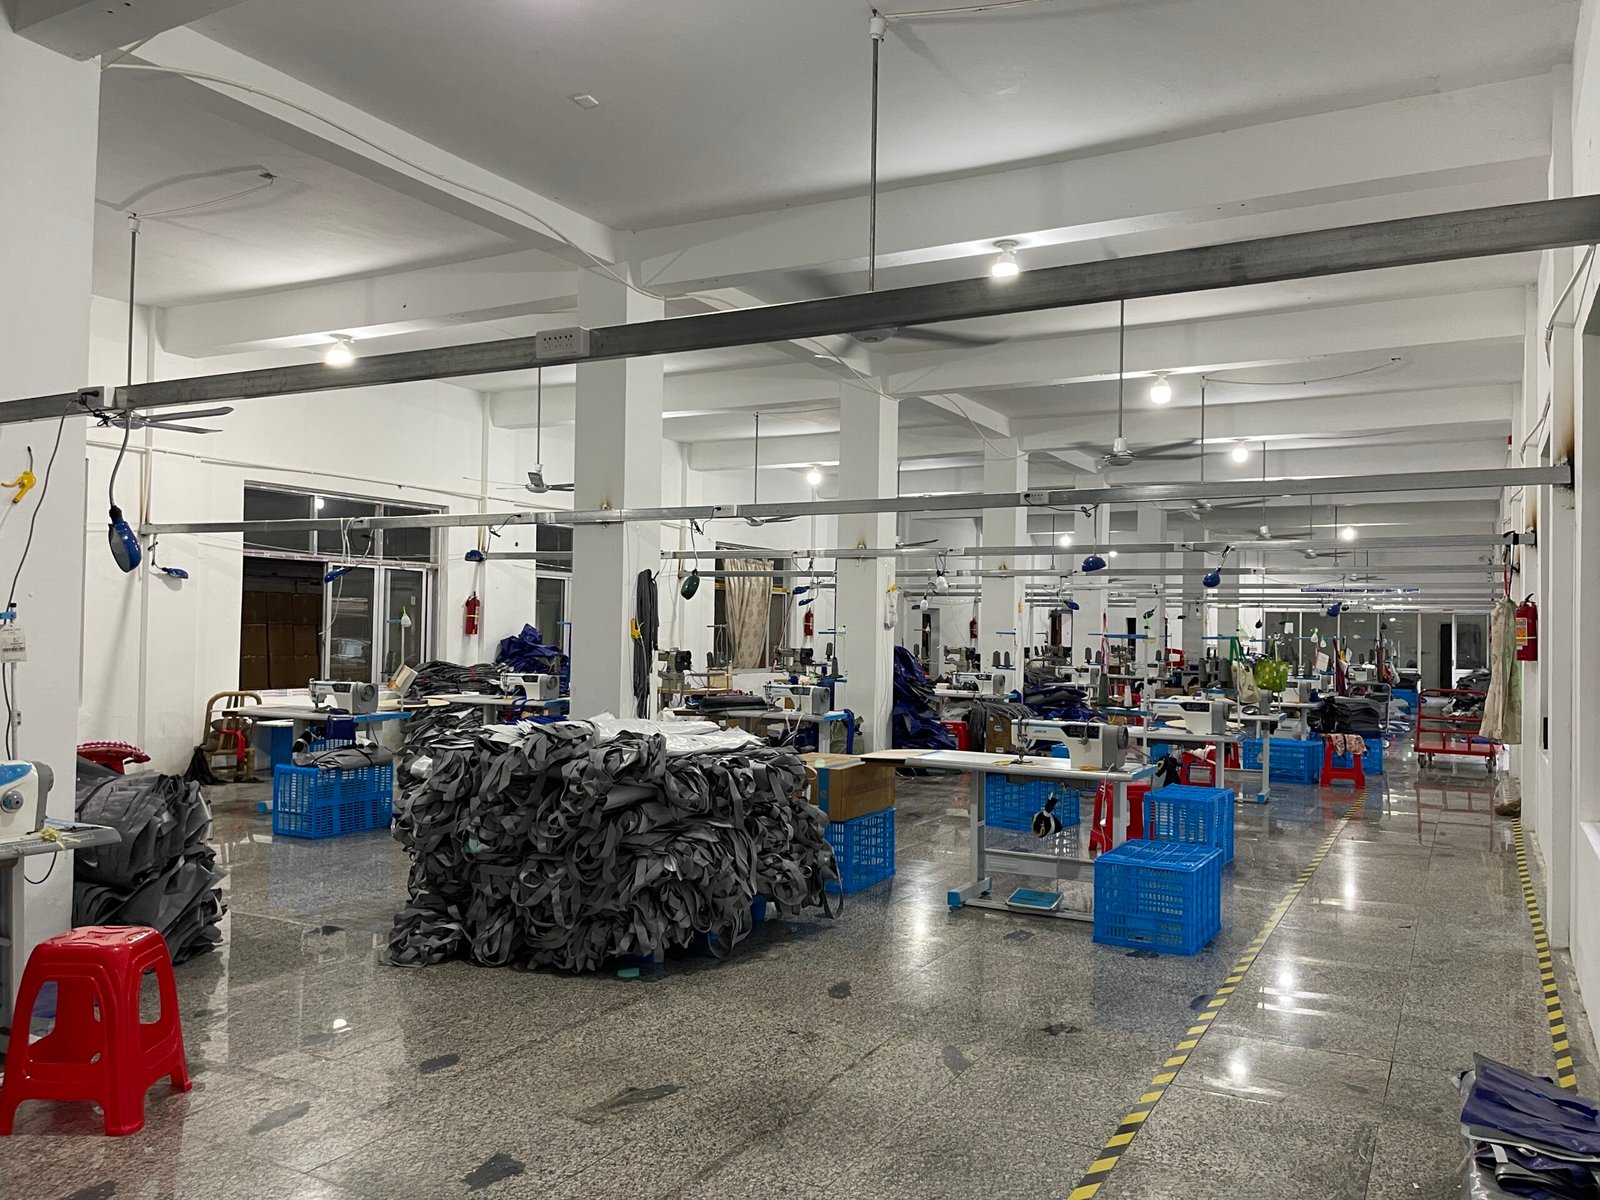
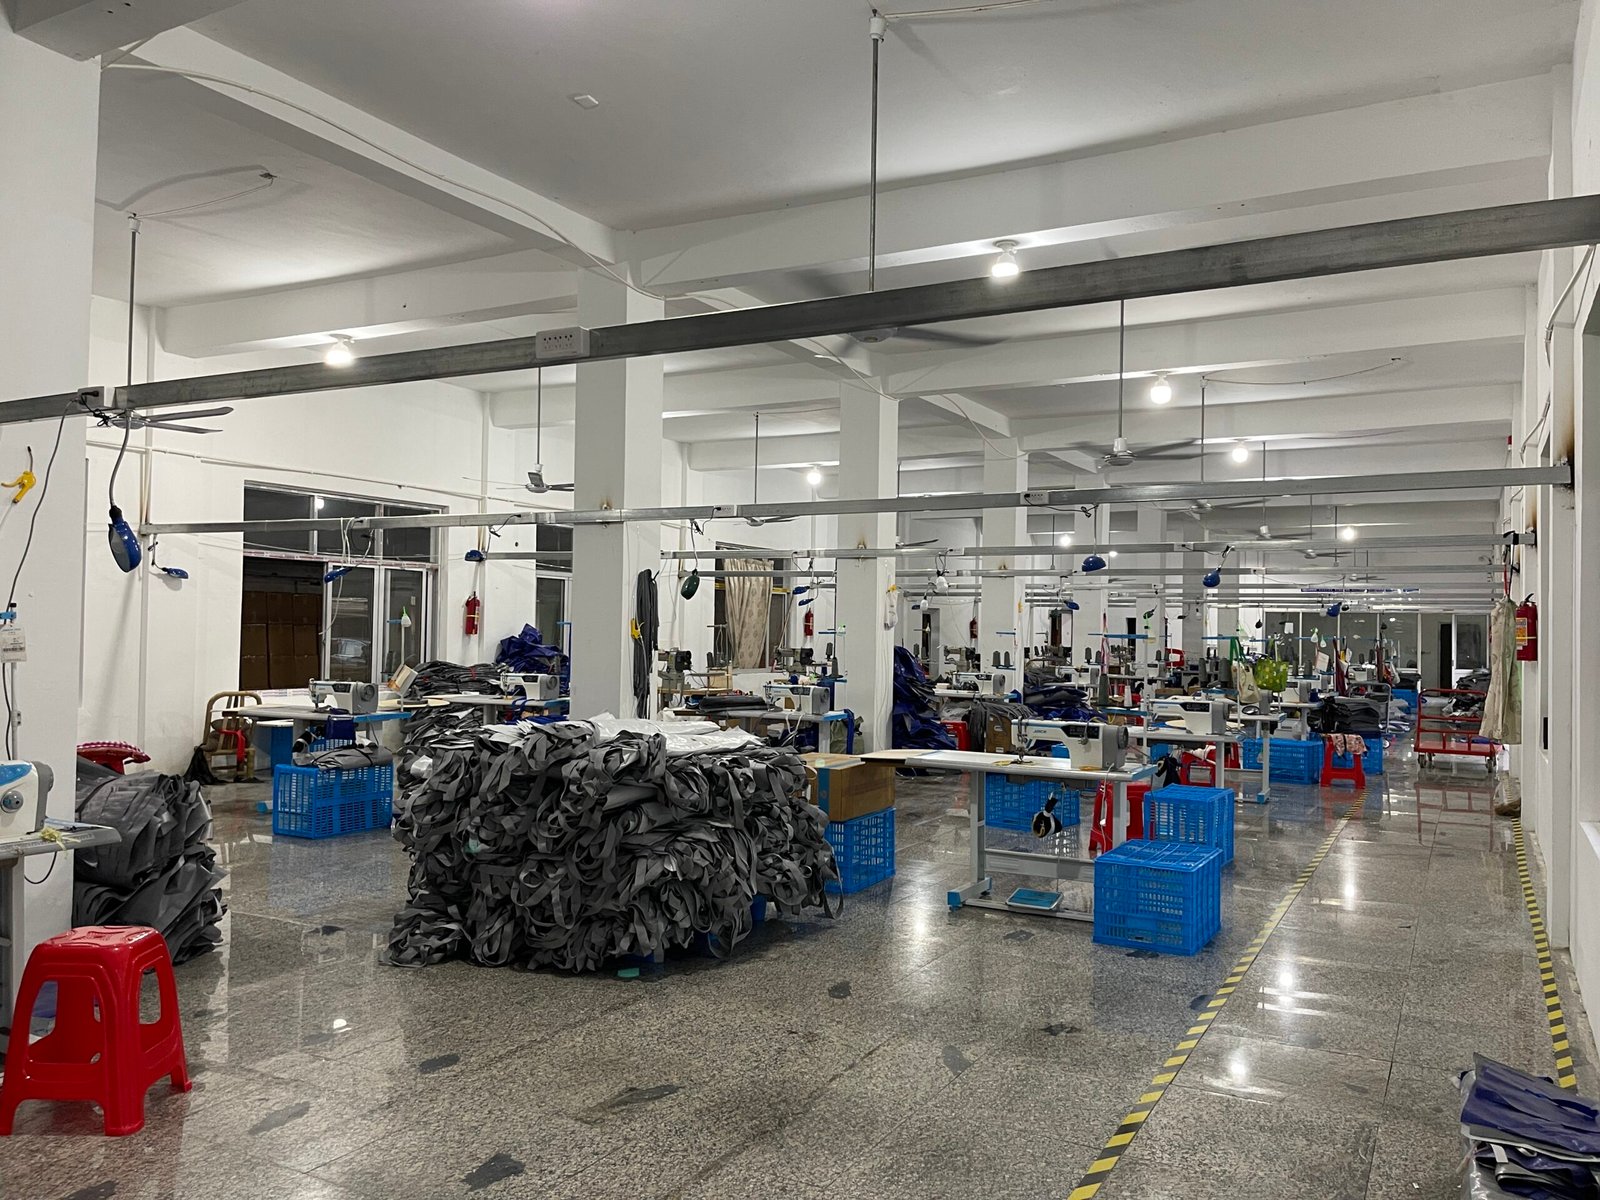
- Outsourced Print or Embroidery: When a factory subcontracts decoration to a third party, you lose control over ink adhesion, thread tension, and alignment. In-house printing and embroidery capability is a direct indicator of consistent quality. Ask for proof of their own workshop—if they can’t show you photos of their screen-printing line or embroidery machines, expect delayed shipments and patchy results.
- Vague Pricing on Setup and Digitizing Fees: Hidden costs like screen-printing setup fees (often $50–$200 per color) and embroidery digitizing charges (typically $30–$80 per design) are routinely excluded from initial quotes. A supplier that waves these off as ‘small charges later’ is setting you up for a surprise invoice. Demand an all-inclusive price breakdown in writing before sample approval.
- No Stitching or Handle Stress Test Data: Heavy-duty tote bags are only as reliable as their weakest seam. Ask the supplier to share standard test results: handle pull strength (commonly 40kg minimum), seam slippage, and thread breakage rate. If they cannot provide data or refuse to run a sample test during the sampling phase, you are buying blind. A reputable factory will have these numbers on file.
Conclusion
A proper tote bag manufacturer vetting process isn’t just paperwork — it’s the difference between a successful product launch and a $50,000 mistake. Without sample approval and agreed quality tolerance, color mismatches and handle failures become your problem, not the factory’s. The cost of inaction runs to lost sales, return handling, and brand damage that takes months to repair.
Frequently Asked Questions
What is the difference between Woven PP and Oxford fabric?
Woven PP is lighter and cost-effective for basic moving totes, while Oxford fabric offers a premium feel and higher tear resistance for retail and brand use. Choose Woven PP for budget-heavy logistics and. Match fabric to your use case: budget vs. premium.
What is the MOQ for custom totes?
Custom MOQ typically starts at 500–1,000 pieces for ODM stock designs, but OEM projects with unique specs may require 2,000+ units. Always confirm the MOQ per production model—stock vs. Ask for MOQ based on your exact customization level.
How do I verify supplier quality before ordering?
Request a pre-production sample with your Pantone references and conduct a handle stress test on the loaded bag. Without a sample approved against your spec sheet, you risk dye-lot mismatches and stitching failures. Insist on a pre-production sample with a stress-test report.
What certifications should a tote manufacturer have?
Look for BSCI social compliance and REACH compliance for EU markets, plus ISO 9001 for consistent quality control. These certifications reduce customs delays and protect your brand from liability in global shipping. Always check certification scope against your target region.
How does DDP shipping work for custom totes?
DDP (Delivered Duty Paid) means the factory handles all logistics, customs clearance, and duties to your door. It simplifies procurement but verify the incoterm includes door-to-door insurance and handling for damaged goods. Confirm DDP covers full insurance and final-mile delivery.

0 Comments