Based on legacy TIIOCTI notes on moving bag handle repair and the handle construction recorded in our moving bag spec.
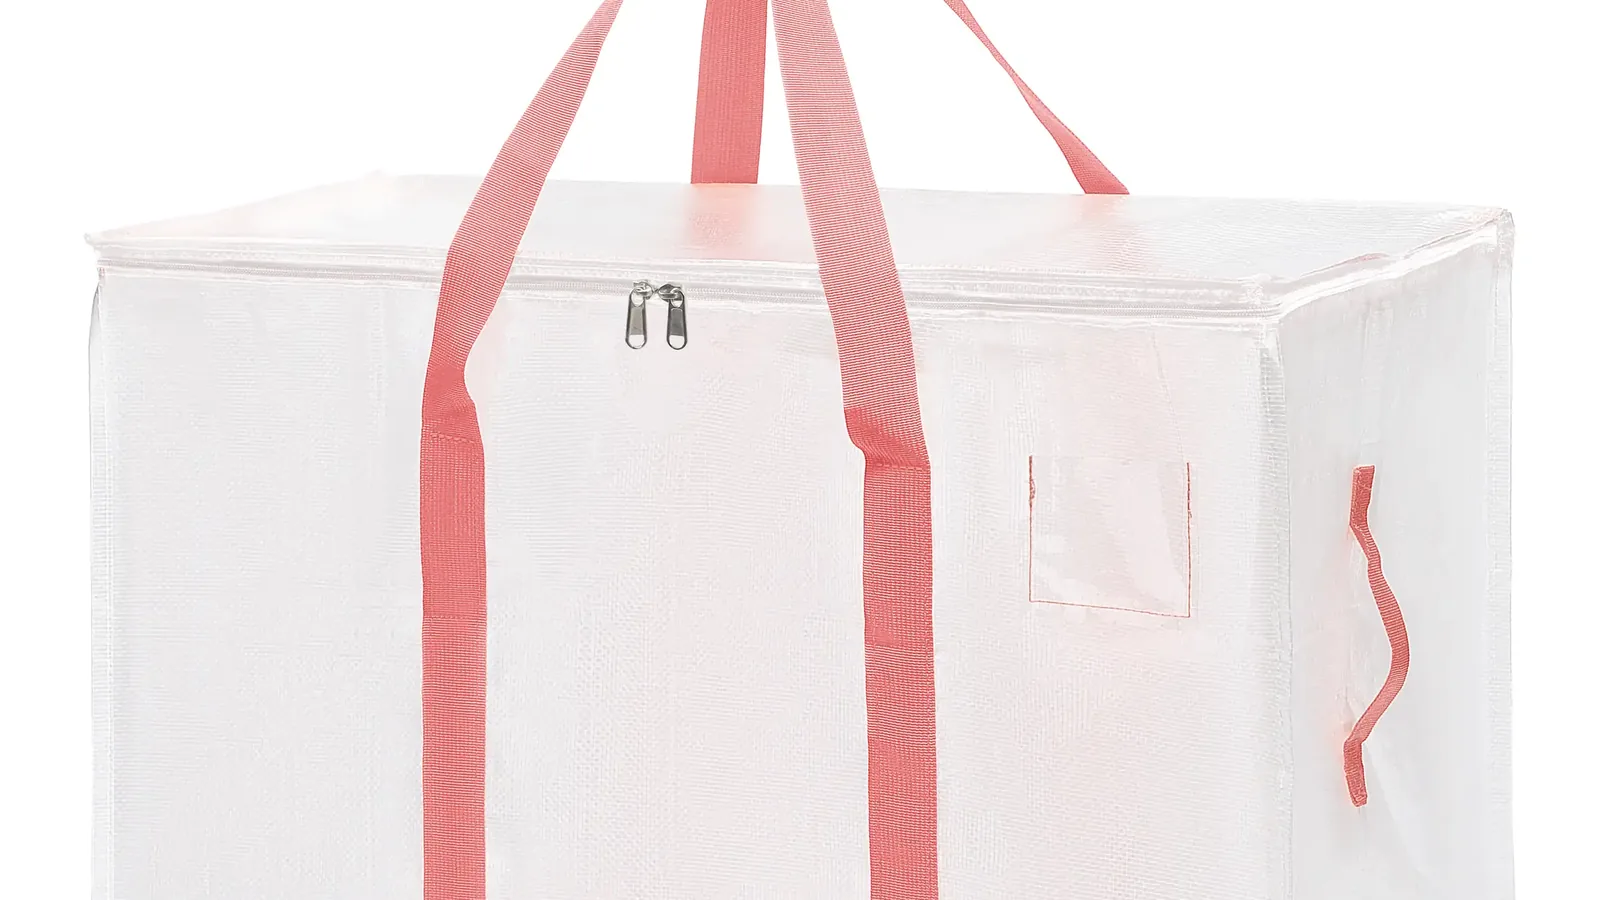
The bag arrived back at the warehouse with its handle hanging by four threads, the webbing still clean, the canvas still intact. A crew leader had lifted it once by the long handle, heard the pop, and set it down before the load spilled. The complaint that followed was not about a defect in the fabric. It was the shorter sentence that buyers dread: this bag feels cheap.
That bag had been in service for months. The handle did not fail because the mover overloaded it or dragged it across a truck bed. It failed at the stitch line, where the webbing meets the bag wall, and the story of why is worth following before anyone decides whether to restitch it or retire it.
The Bag Came Back With the Handle Hanging by Four Threads
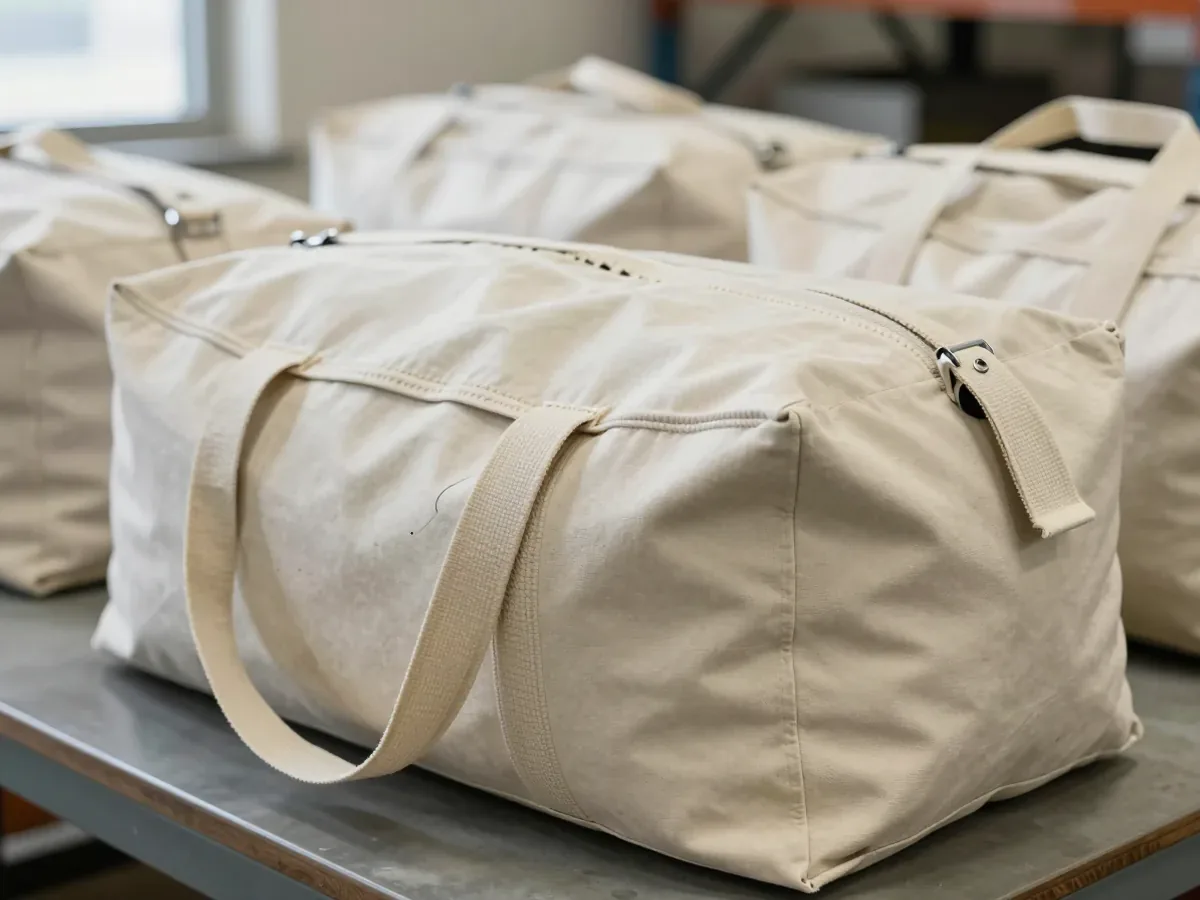
The return sat on a bench next to three other bags from the same batch. Two had loose threads at the handle base. One had a stitch hole stretched into a small oval, the canvas around it still flat. None of the four had torn fabric. The webbing on the failed bag was still supple, the long handle still attached at the far end, the side grip still firm.
A repair decision usually starts here, with a bag that looks salvageable. The fabric is intact, so the instinct is to sew the handle back down and send it out again. That instinct is right about the material and wrong about the cause. The handle did not come loose because the thread was weak. It came loose because the original stitch pattern put the whole lift into a narrow line of thread, and the canvas around those holes had been slowly giving way since the first load.
Tracing the Tear Back to the Stitch Line
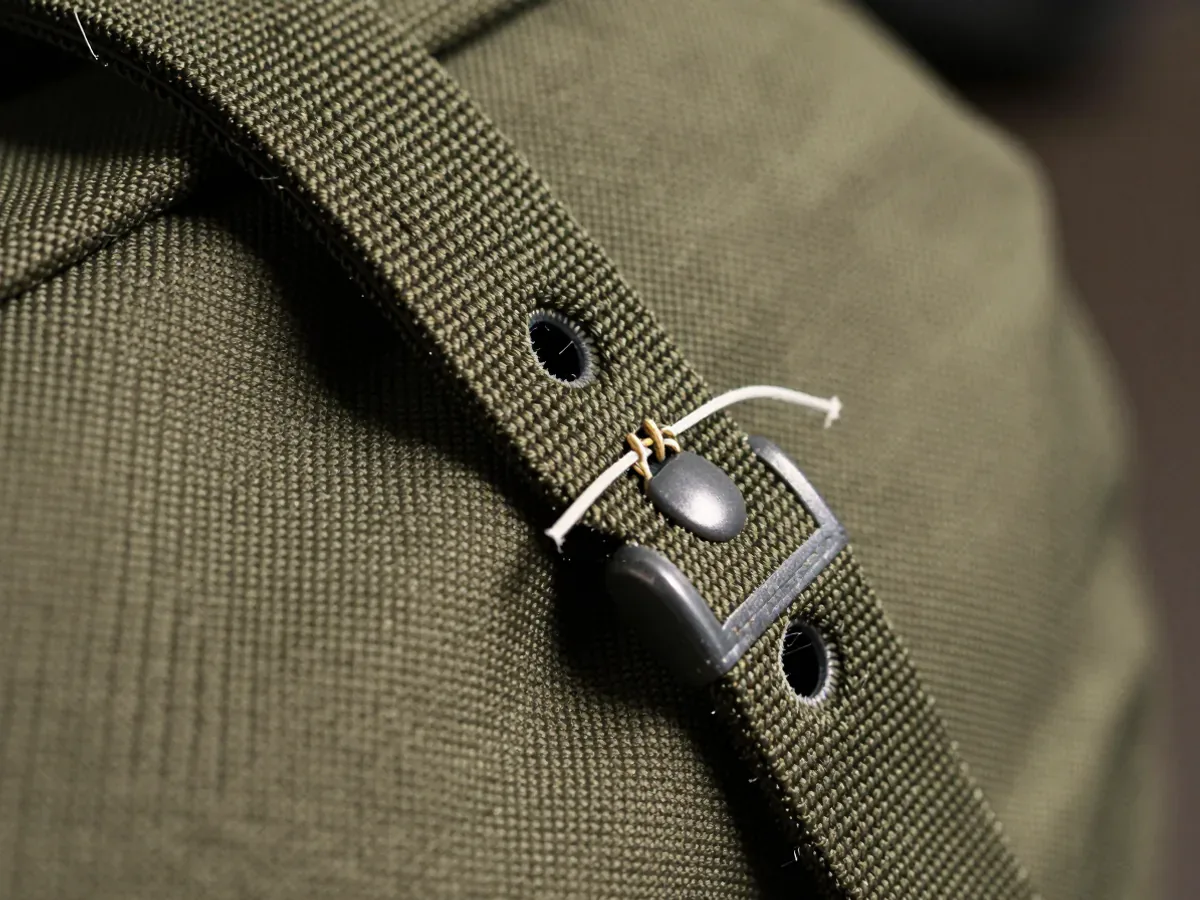
Handle tear-out is the most common field failure on a loaded moving bag, and the webbing itself is rarely the culprit. The load concentrates at the stitch holes where the handle meets the bag body. A single bar tack or one straight stitch line holds that load in a few square inches of thread contact, so every lift works the same small patch of canvas.
The bags on the bench showed the pattern clearly. The stitch holes had deformed before the thread broke, which means the canvas was failing under the stitch, not the stitch under the load. A repair that closes the same holes with the same narrow pattern will sit on weakened canvas and pull out again. The tear is a symptom. The stitch line is the cause.
What the Original Build Has to Tell You Before You Sew
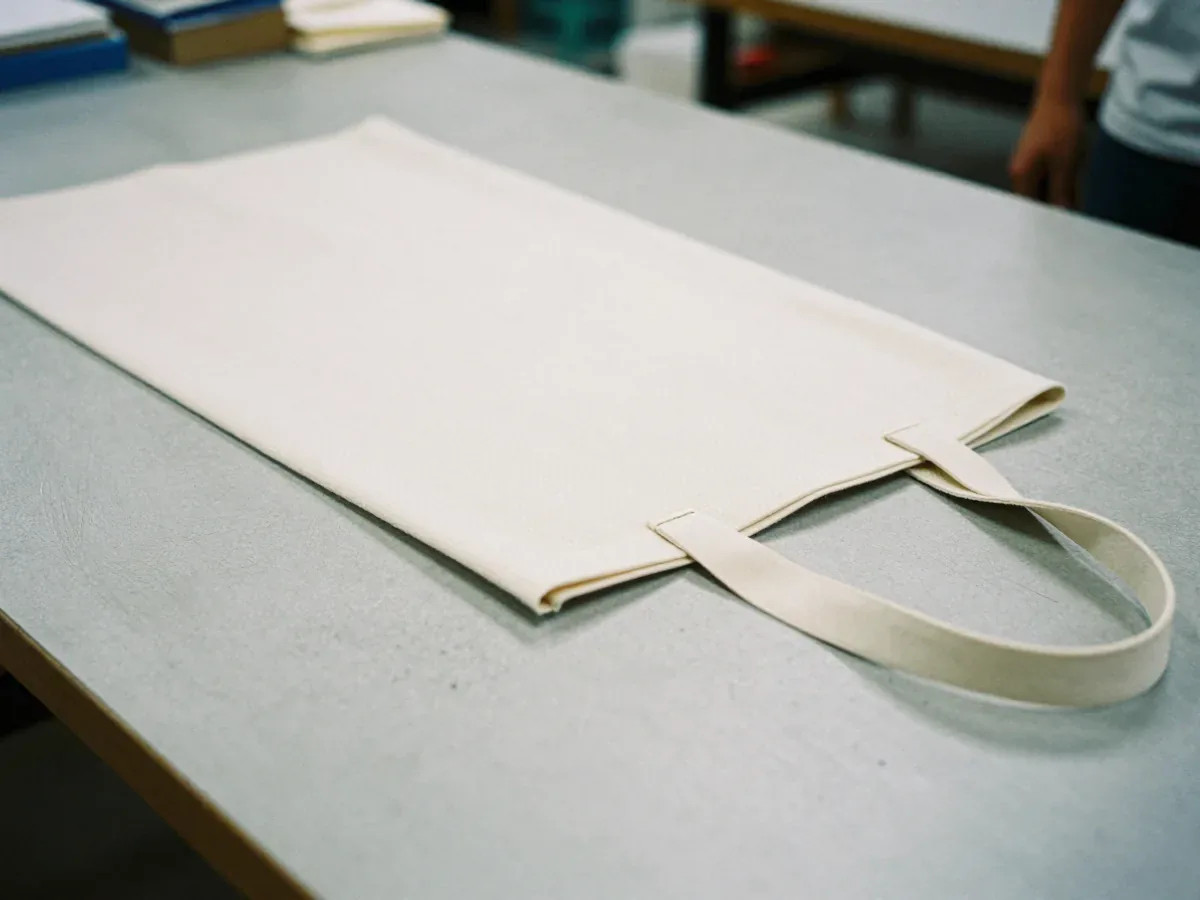
Before any needle goes in, the bag has to answer a few questions about how it was built. The first is webbing width. A handle built on 1.5 inch wrap-around nylon webbing has more material to spread load than a one inch polypropylene strap, and the repair has to match what is already there. Sewing a wide reinforcement onto a narrow strap does not fix the geometry.
The second is overlap. At least 2 inches of webbing should sit behind the bag wall, so the stitch passes through webbing and canvas together rather than gripping the canvas edge. A handle that stops at the seam has nothing behind the wall to hold it. The third is thread. A bonded polyester thread in the V69 range or heavier is the baseline for a load-bearing handle, and a lighter thread will not survive the same lift.
If the bag cannot answer these questions, the repair is a guess. A guess on a loaded moving bag is how the same handle comes back a second time.
The Repairs That Come Apart Inside a Month
The repairs that fail fastest share a few habits. One is closing the original holes with a hand stitch and ordinary thread. The canvas around those holes is already distorted, and a hand stitch cannot hold consistent tension across the patch. Another is adding a patch of webbing on top of the failed area without extending it behind the bag wall, which moves the stress line a few millimetres rather than spreading it.
A third is restitching only the torn side. The opposite handle has carried the same loads for the same months, and it is usually one lift behind. A bag that comes back with one handle repaired and the other untouched tends to return with the second handle next.
The fourth habit is the quiet one. A repair that looks sound on the bench can fail on the first real lift because the stitch density is too loose to grip the webbing. Stitch length matters as much as thread grade, and a repair that skips that check is a repair waiting for a heavy box.
Matching a Repair to the Webbing, Thread and Overlap Already There
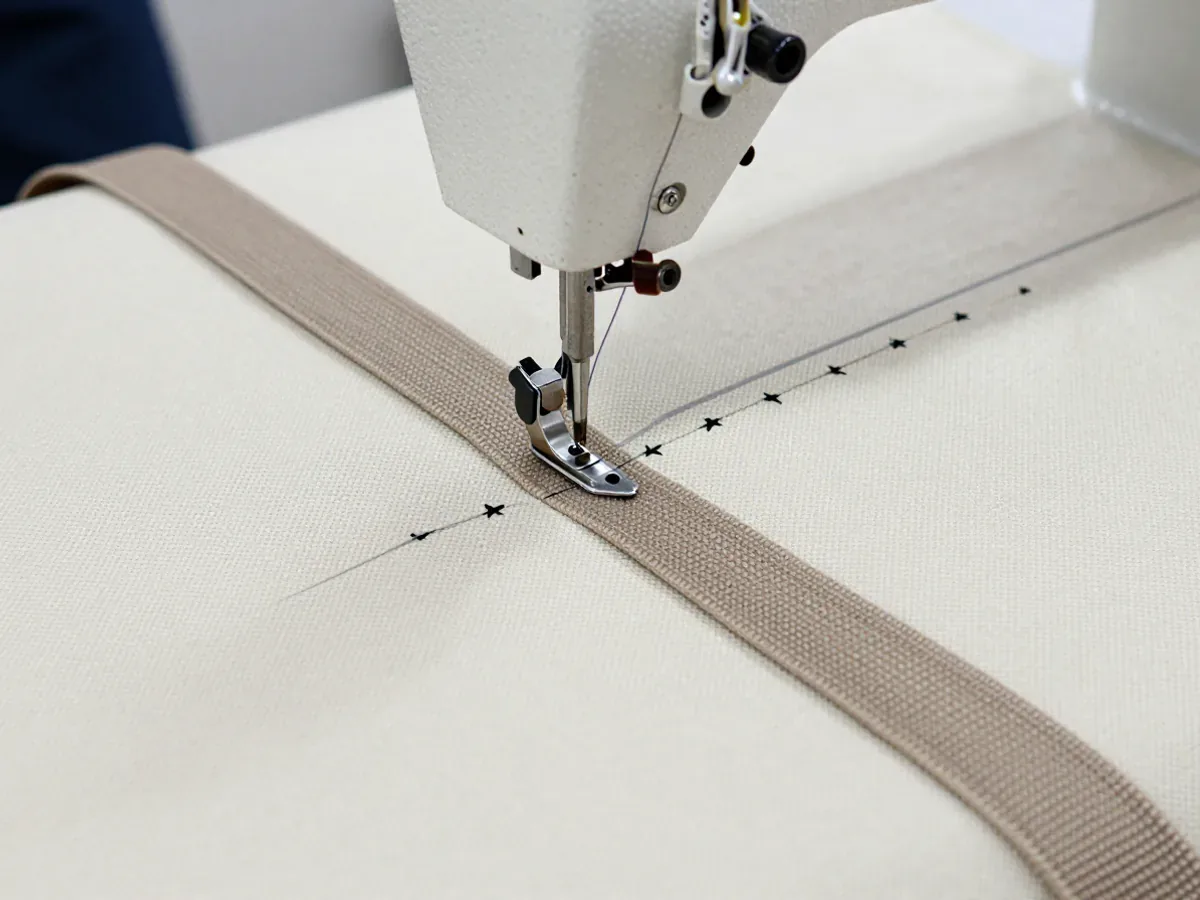
A repair that lasts copies the construction the bag should have had. That means wrap-around webbing at least 1.5 inches wide, a double X-box stitch with a perimeter topstitch, and enough overlap behind the bag wall for the stitch to pass through two layers of material. The X-box spreads stress across roughly four square inches of fabric instead of a narrow line, which is the difference between a handle that holds and a handle that pulls through.
The equipment matters too. An industrial sewing machine with a size 18/110 needle and bonded polyester thread, set to a stitch length around 10 to 12 stitches per inch, gives the repair a chance to match factory tension. A domestic machine and a hand needle can close the seam, but they cannot reproduce the consistency that keeps a loaded handle from working loose.
There is a limit to what a repair can restore. If the canvas itself tore, the bag is compromised, and restitching a handle onto torn fabric only hides the damage. A repair is worth doing when the stitching failed and the fabric is intact. When the fabric has given way, replacement is the honest answer.
Reading a Handle Before You Decide to Fix It
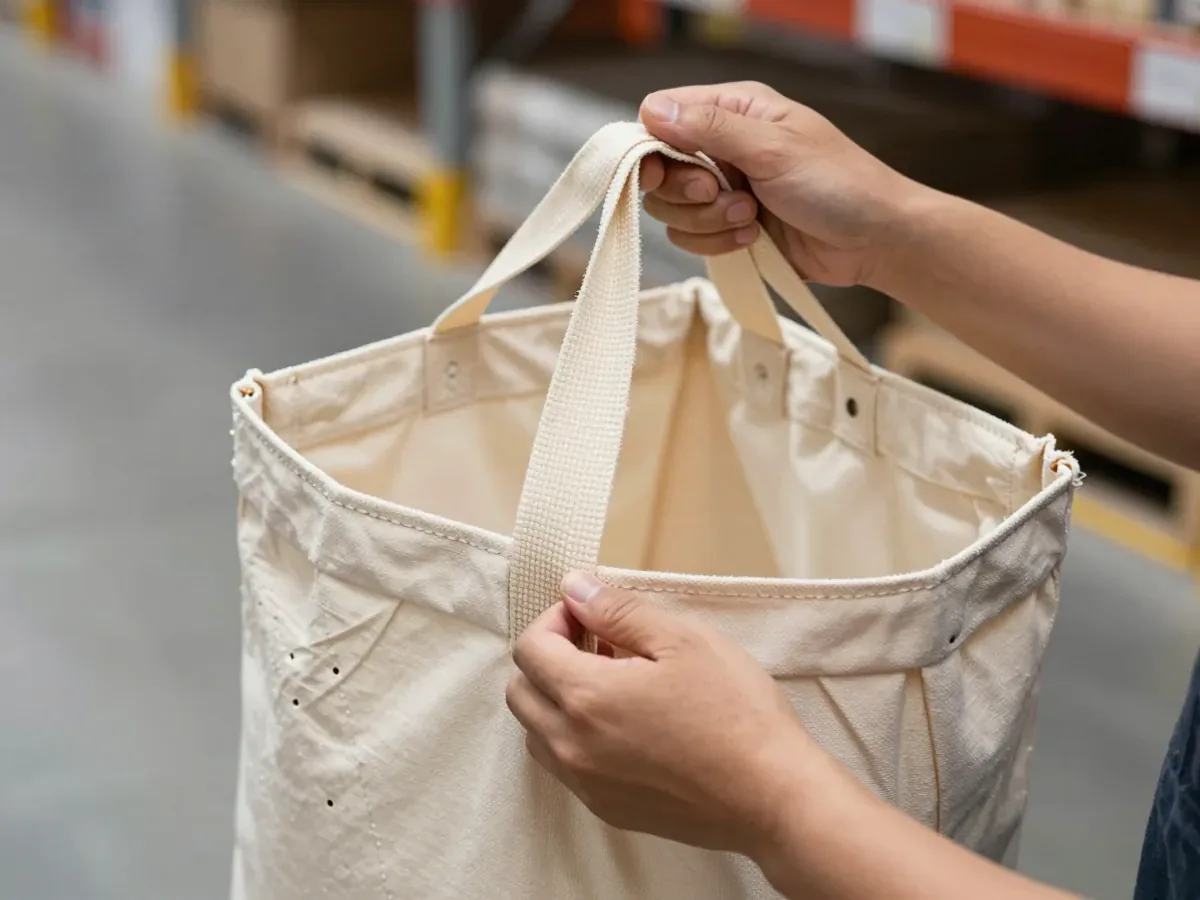
A handle can be read before it fails. Loose threads at the base, frayed webbing, and stitch holes stretched into ovals are the early signals, and they show up long before the pop. A simple check is to lift an empty bag by one handle and watch the stitch holes. If they distort or the webbing shifts, the attachment is already working loose.
A weekly look at handles in service catches most of these before a load is at stake. The check costs a minute per bag and saves the cost of a failure on a stairwell or a truck bed. For a fleet of reusable moving bags, that habit is cheaper than a repair bench.
The same reading applies to a bag coming in for repair. If the webbing is sound, the overlap is there, and only the stitch line failed, the bag can be restitched to a proper pattern. If the webbing is frayed or the canvas around the holes is soft, the bag has told you its answer.
What to Ask a Supplier About Handle Construction
The clearest way to avoid the repair question is to buy handles that do not need it. That starts with a supplier who can name the stitch pattern, the webbing material and width, and the overlap behind the bag wall without checking a file. A supplier who cannot describe the handle construction is selling speculative inventory.
Ask for batch pull-test results rather than a sample report. A handle that passed on a sample tells you about the sample. A handle tested on every batch tells you about the bags in your warehouse. The checkpoints that matter are the ones that touch the handle directly: webbing and thread checked against the approved spec on incoming material, seam and bar tack strength pulled on every batch with results recorded, and stitch density checked by hand on the finished handle.
A reinforced handle is not a premium trim. It is the difference between a bag that survives a move and a bag that comes back with four threads holding the load. When the construction is right, the repair question rarely comes up. When it does, the bag itself usually tells you whether to sew or replace.
FAQ
Can a torn moving bag handle be repaired if the bag fabric is still intact?
Yes. If only the stitching failed and the canvas is sound, a factory-grade restitch can restore the handle. If the fabric tore around the stitch holes, the bag is compromised and should be replaced.
What stitch pattern should a repaired handle use?
A double X-box stitch with a perimeter topstitch, using bonded polyester thread in the V69 range or heavier. The pattern should spread load across the webbing and the bag wall rather than closing the original holes in a narrow line.
How much webbing should sit behind the bag wall at the handle?
At least 2 inches. That overlap lets the stitch pass through webbing and canvas together, which is what keeps the handle from pulling through the fabric under load.
How do I check a handle before sending a bag out on a move?
Lift the empty bag by one handle and watch the stitch holes. If they distort, if the webbing shifts, or if threads are loose at the base, the handle is already working loose and the bag should be pulled from service.